Intro
You can use the Server API Connector to connect to and pull data from Airtable. We will use this data to populate a Bootstrap table on our page.
Airtable Setup
There are a couple of steps you need to set up, in order to be able to use Airtable API.
Airtable API Key
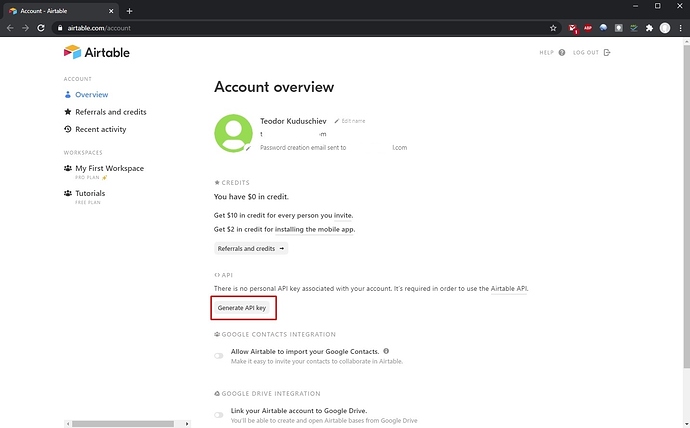
In order to use Airtable API, you need an API Key. Go to https://airtable.com/account
Click the Generate API key button:
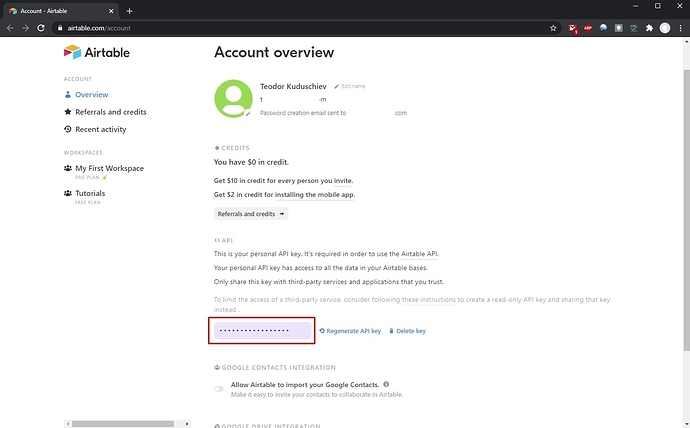
Click the API Key input and copy your API Key, as you will need it later:
API Options
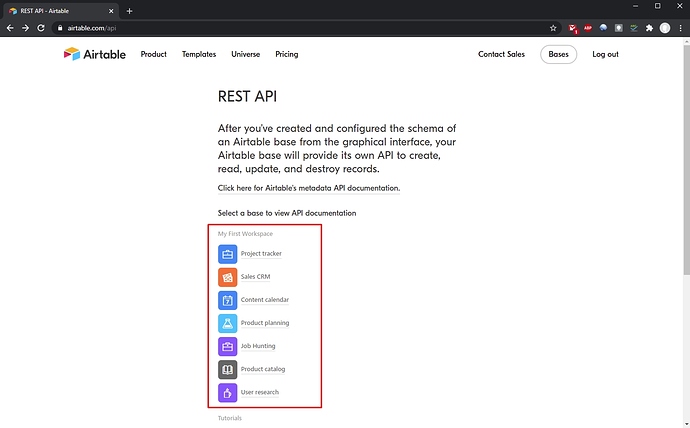
The next step is to go to https://airtable.com/api and get the API options for your database.
You will see a list of your Airtable databases. Select the one you need to use in your project:
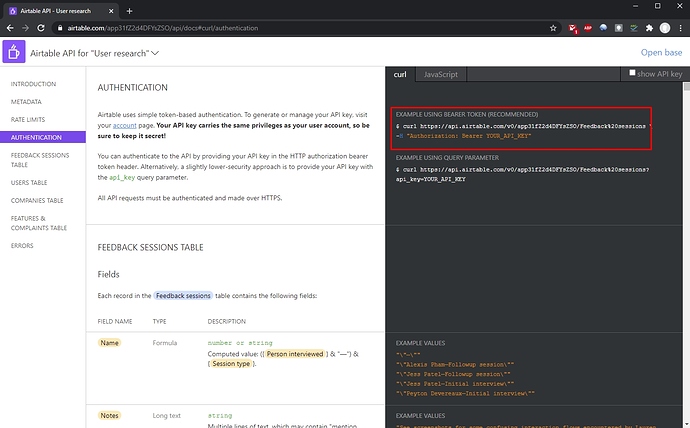
Click Authentication and there you will find the options required for Authentication.
In the right sidebar you see the URL for this specific database. Copy it, as you will need it:
API Action
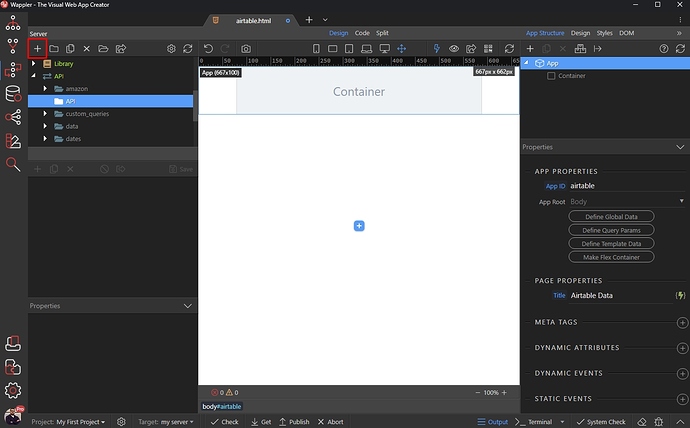
Open Server Connect and create a new API Action:
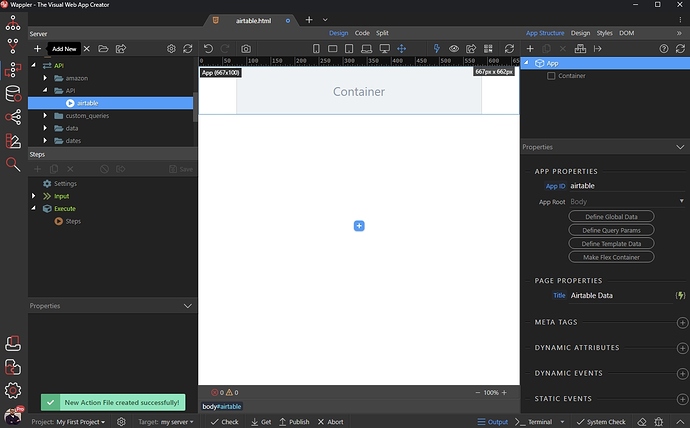
We call it airtable:
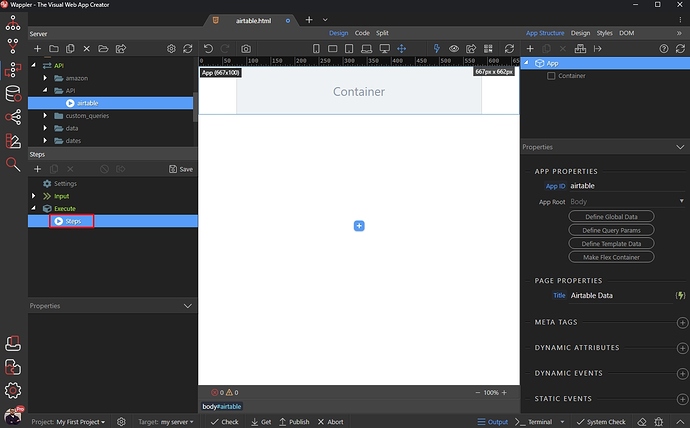
Right click steps:
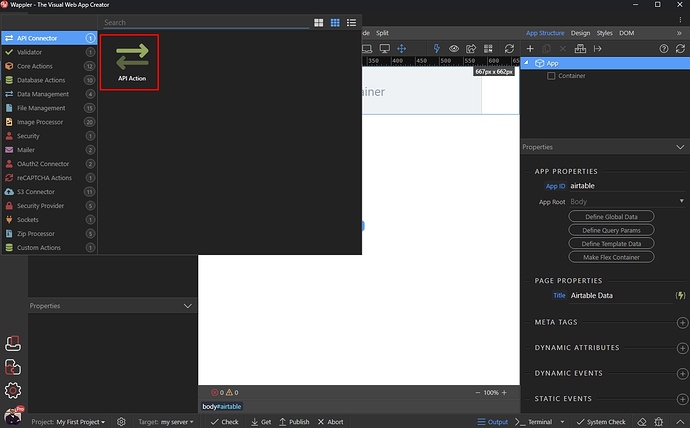
Open the API Connector menu and select API Action:
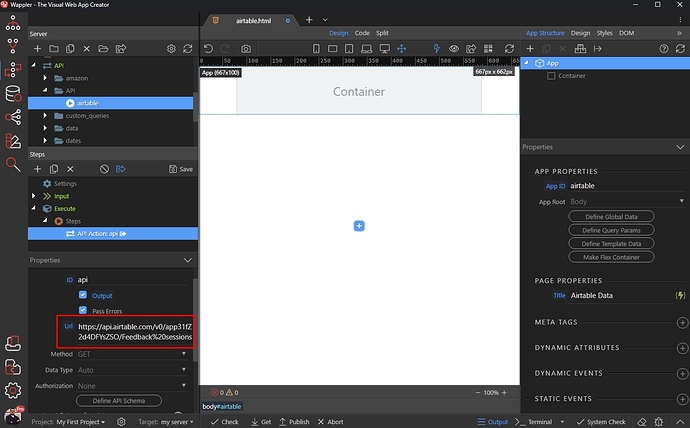
In the URL field paste the URL of your database, copied from the Airtable API page:
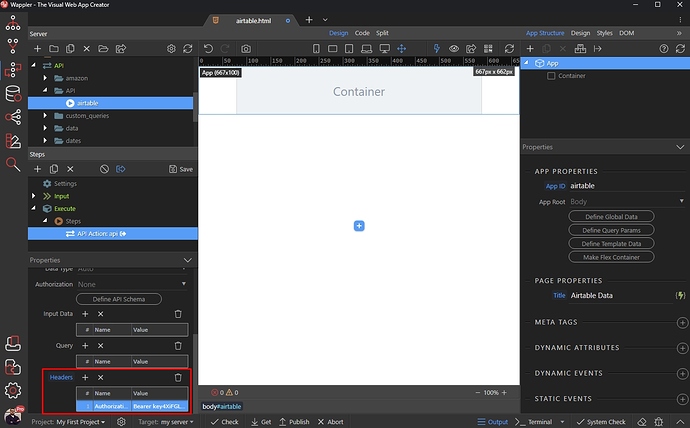
Under Headers add:
- Name:
Authorization - Value:
Bearer your API Key
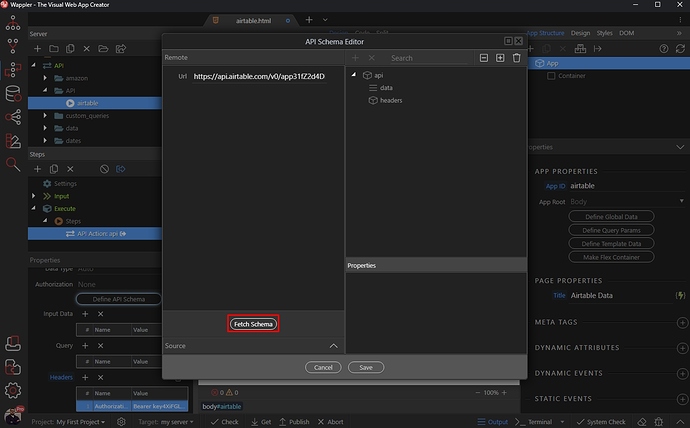
And click Define API Schema button.
Click Fetch Schema:
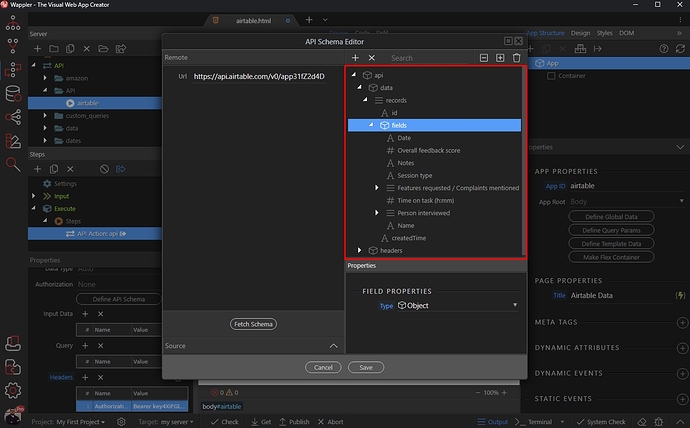
And you will see the Airtable Database Schema has been fetched:
Save your Server Action and close the Server Connect panel.
Page Setup
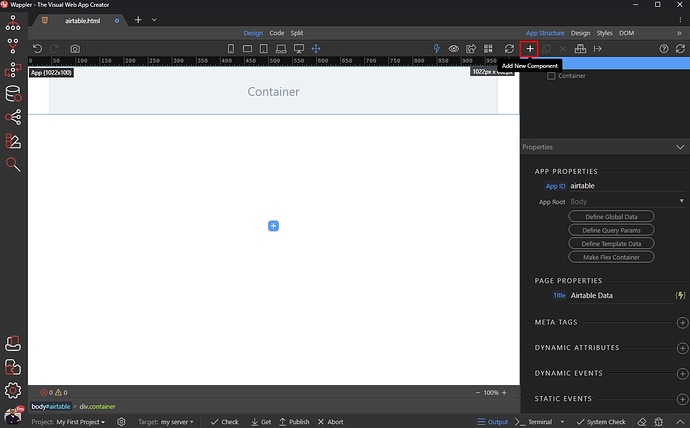
On the page we first need to add the Server Action we just created. Click Add New Component:
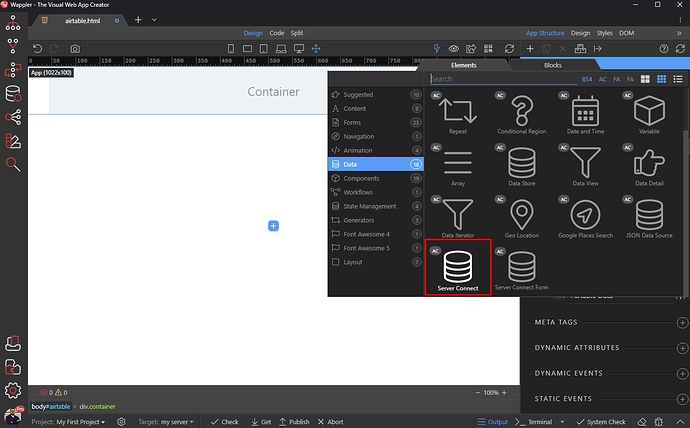
Under Data, select Server Action:
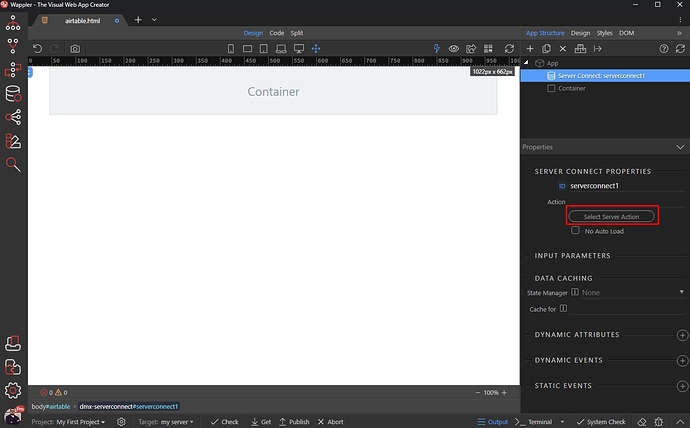
And then Select Server Action:
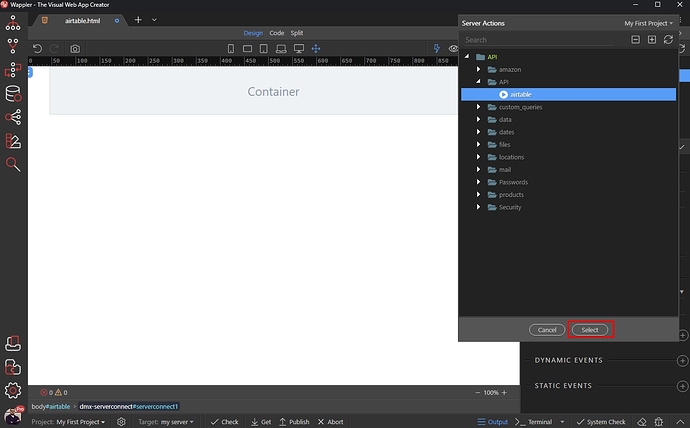
Select the airtable Server Action which we created:
And click the add new component button:
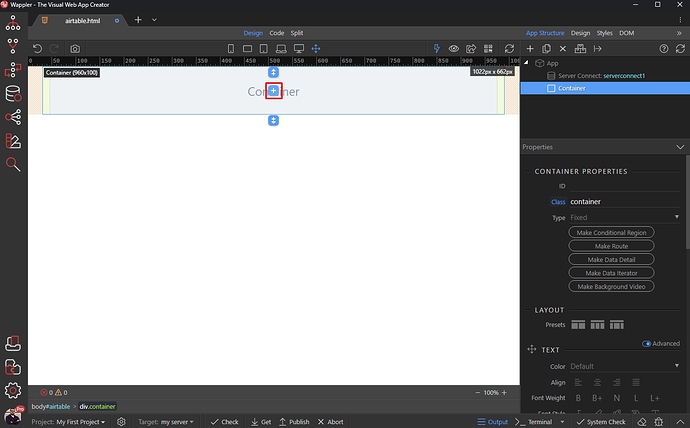
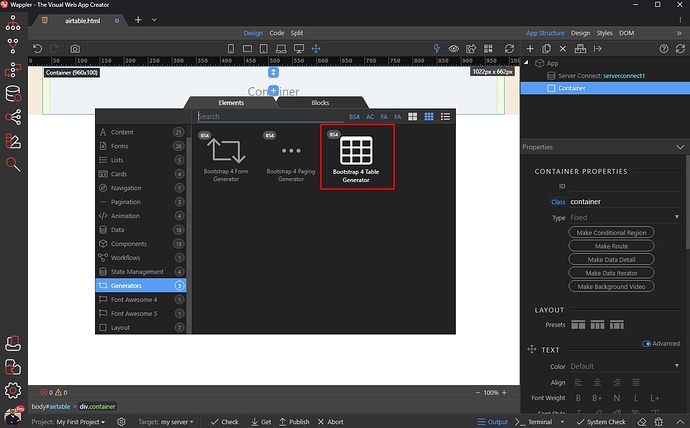
Open the Generators category and select Table Generator:
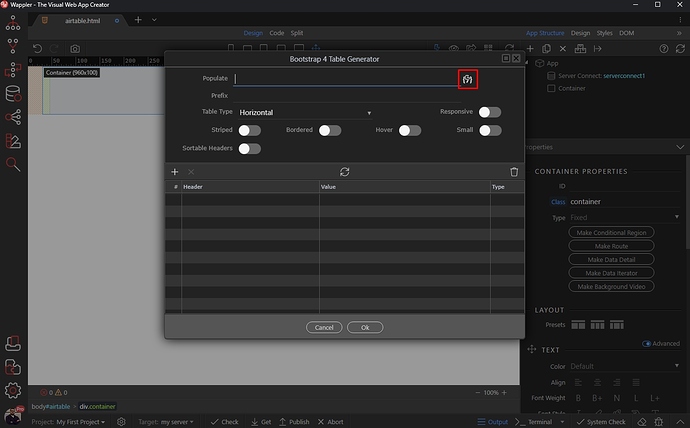
Click the dynamic data picker to select data for your dynamic table:
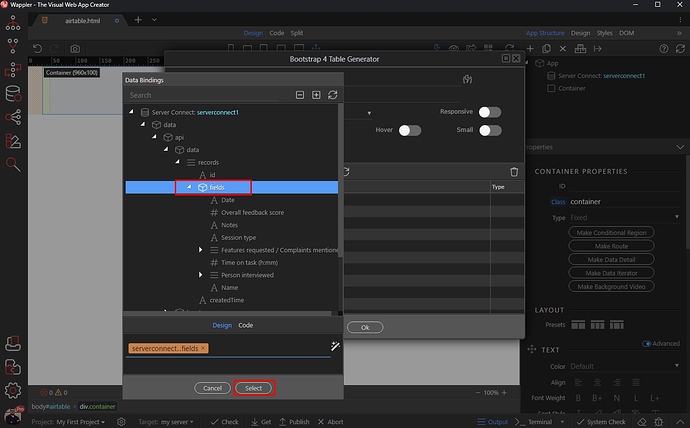
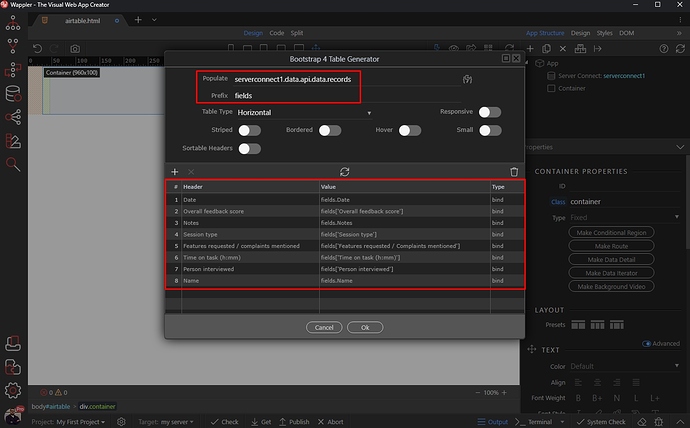
Select the fields object, nested inside api > data > records and click the Select button:
The Table Generator now supports such nested structures, so it automatically detects the nested object and populates the UI with the proper values. You also see your Airtable database columns are now imported here:
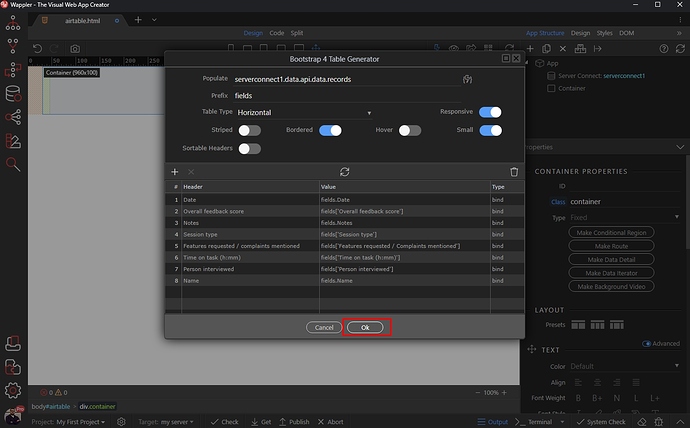
Customize them, remove the ones you don’t need and style the table using the available options. Click OK when you are done:
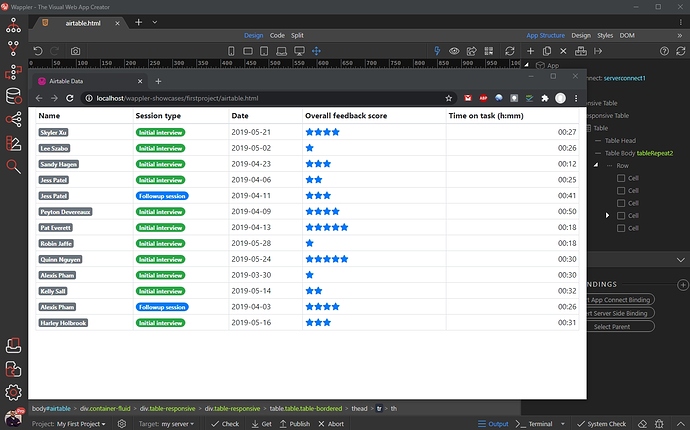
Your table has been added on the page. You can preview it in your browser:
Last updated:
