Intro
Now you can empower Redis caching service with Docker and select which Node.js pages and API Actions to be cached. Then instead of processing them fully on each request, they will be cached in the super fast Redis memory cache and served so much faster to the clients!
This is the perfect Server Side caching for all your web visitors! This will increase your site speed at least 10 times!
Note: All this is possible only with Node.js and Docker and it is for now only under the Experimental Features of Wappler. So make sure you enable those first.
Enable Caching
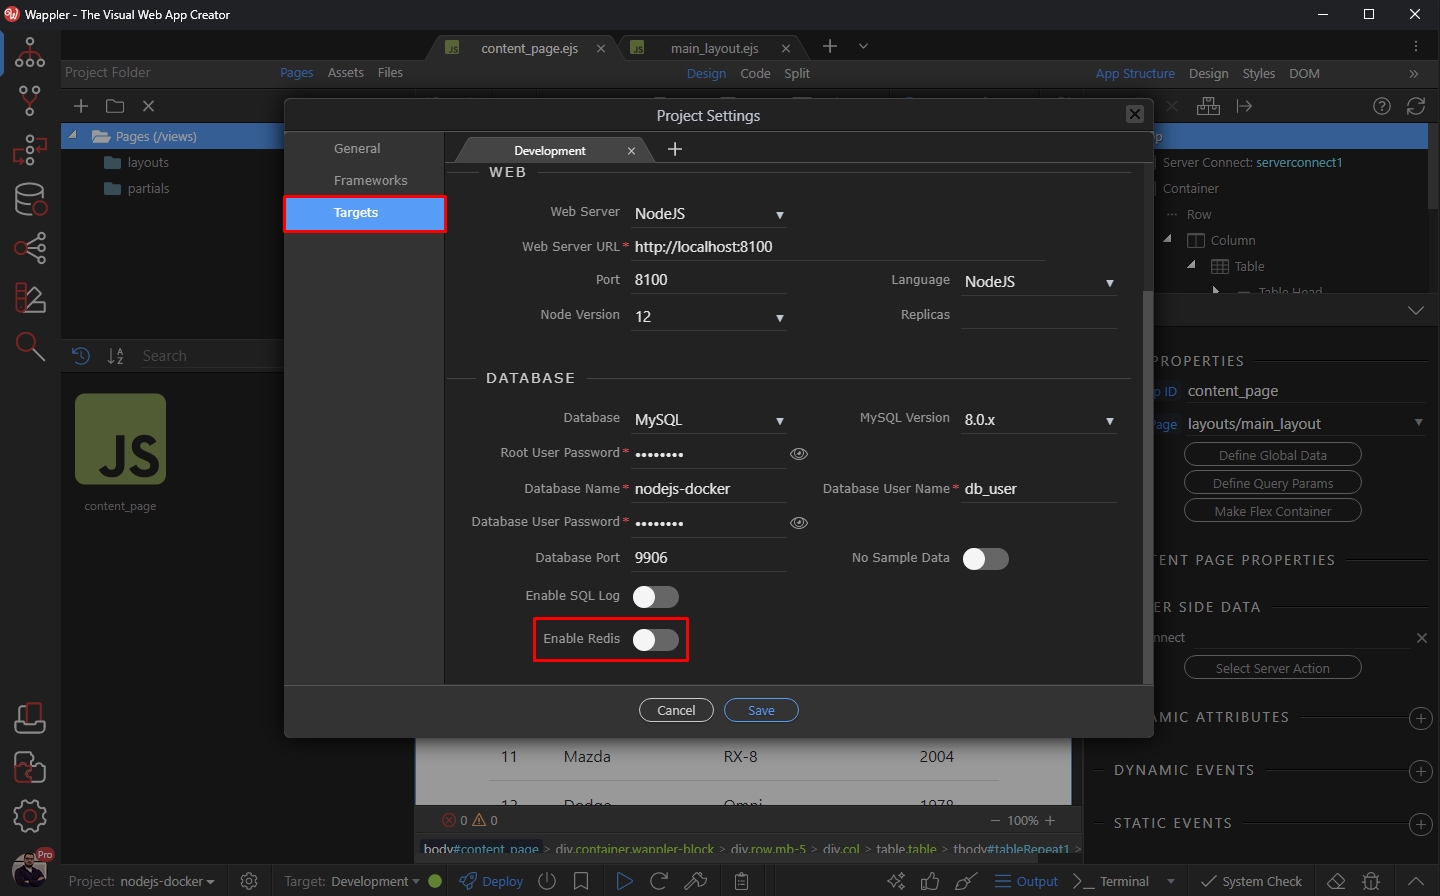
First we need to enable Redis caching. Click the project settings button:

Open Targets and select your target. Scroll down the target options and Enable Redis:
There are two options available - Persistent, which saves a snapshot of the cached data from the memory to the disk every N seconds. This option is what you will need in most of the cases.
Append Only option is only needed in some cases where you need full durability - it saves the data constantly.
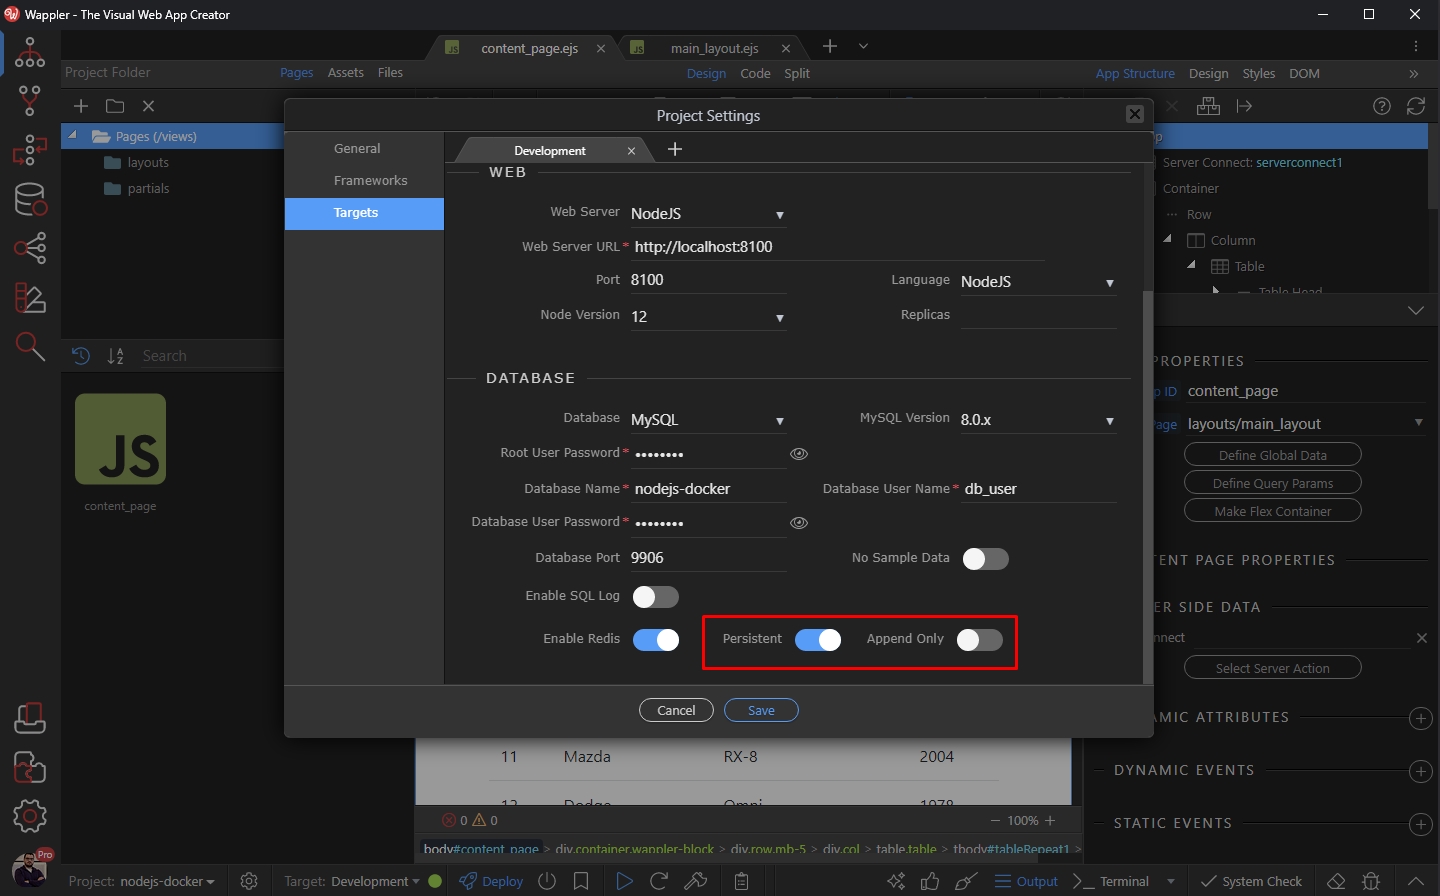
You can learn more about these two options here: https://redis.io/topics/persistence
Click Save when you are done:
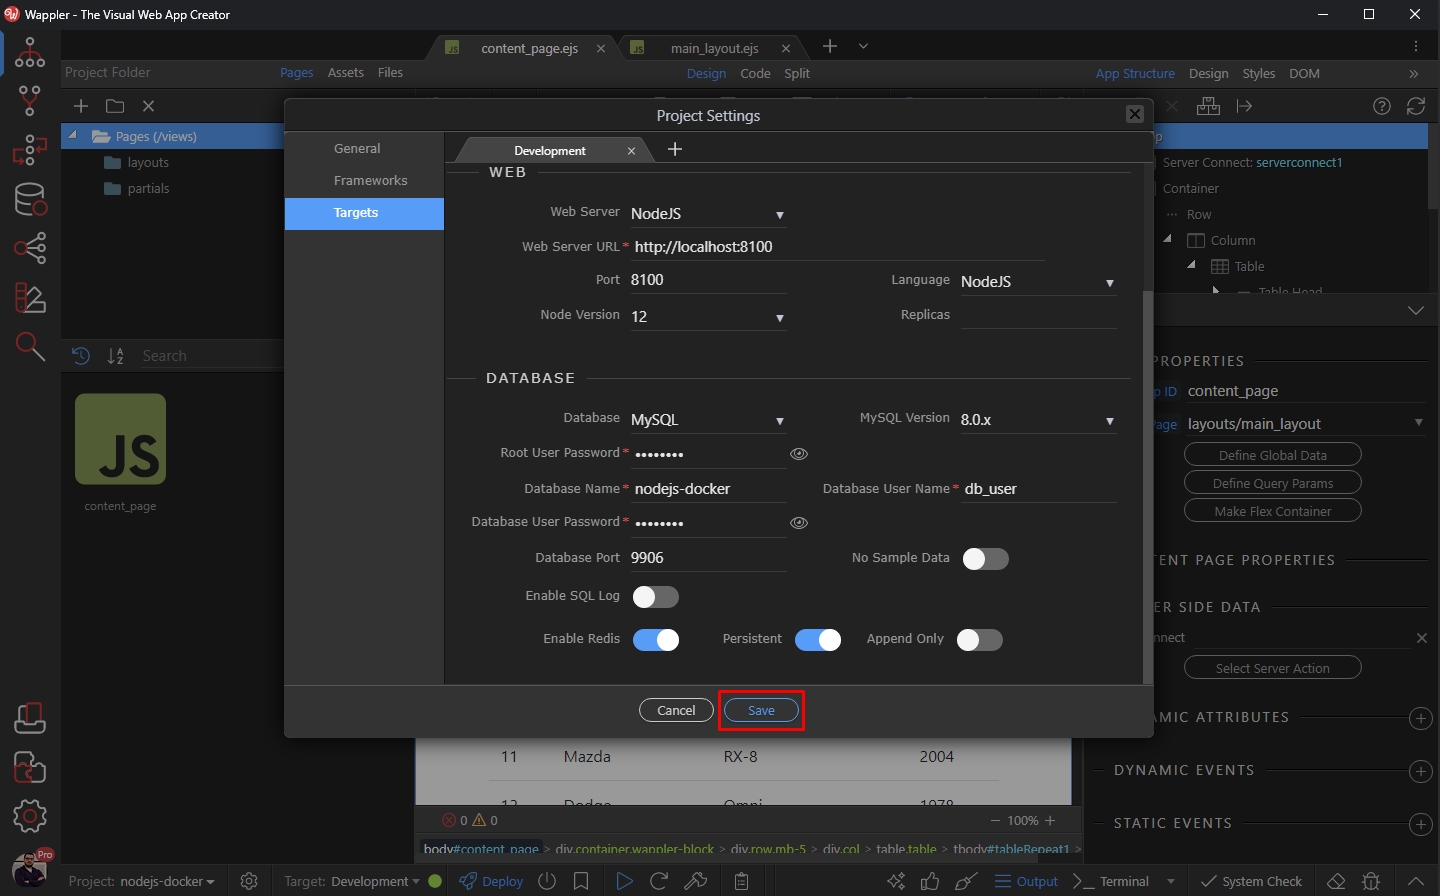
The server side caching is now enabled for our docker target.
Caching Node.js pages
Server side caching of pages is useful for pages, which HTML does not change often. So on every refresh your page HTML will be loaded from the server cache - which makes rendering of the page much faster!
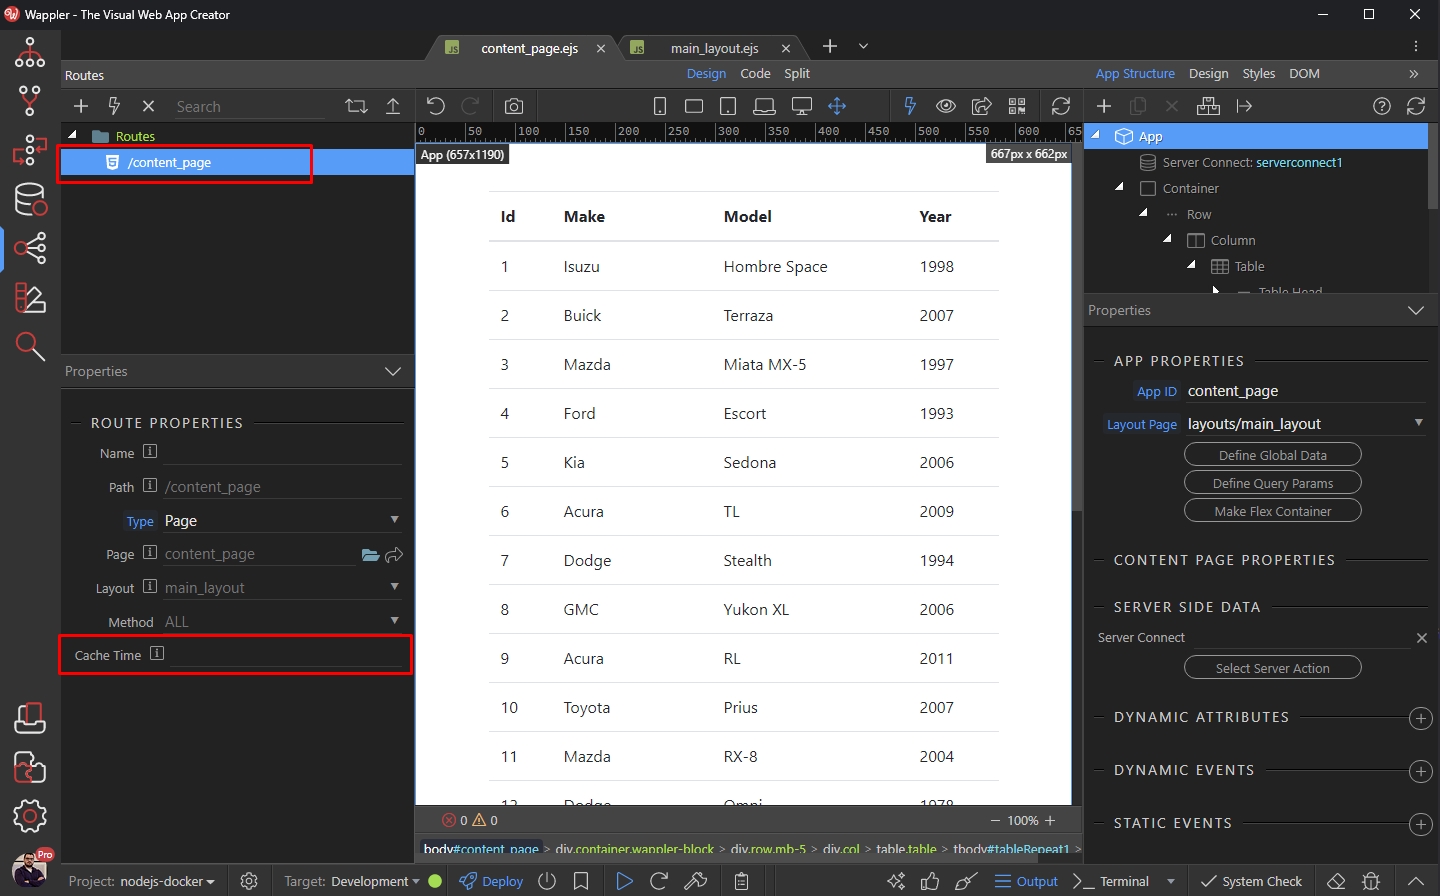
In order to enable caching for a Node.js page, open the Routing Panel:
Select your page route and you will see the Cache Time option in the properties options for this route:
Enter the time in seconds, this page should be cached. We enter 604800 which equals 7 days:
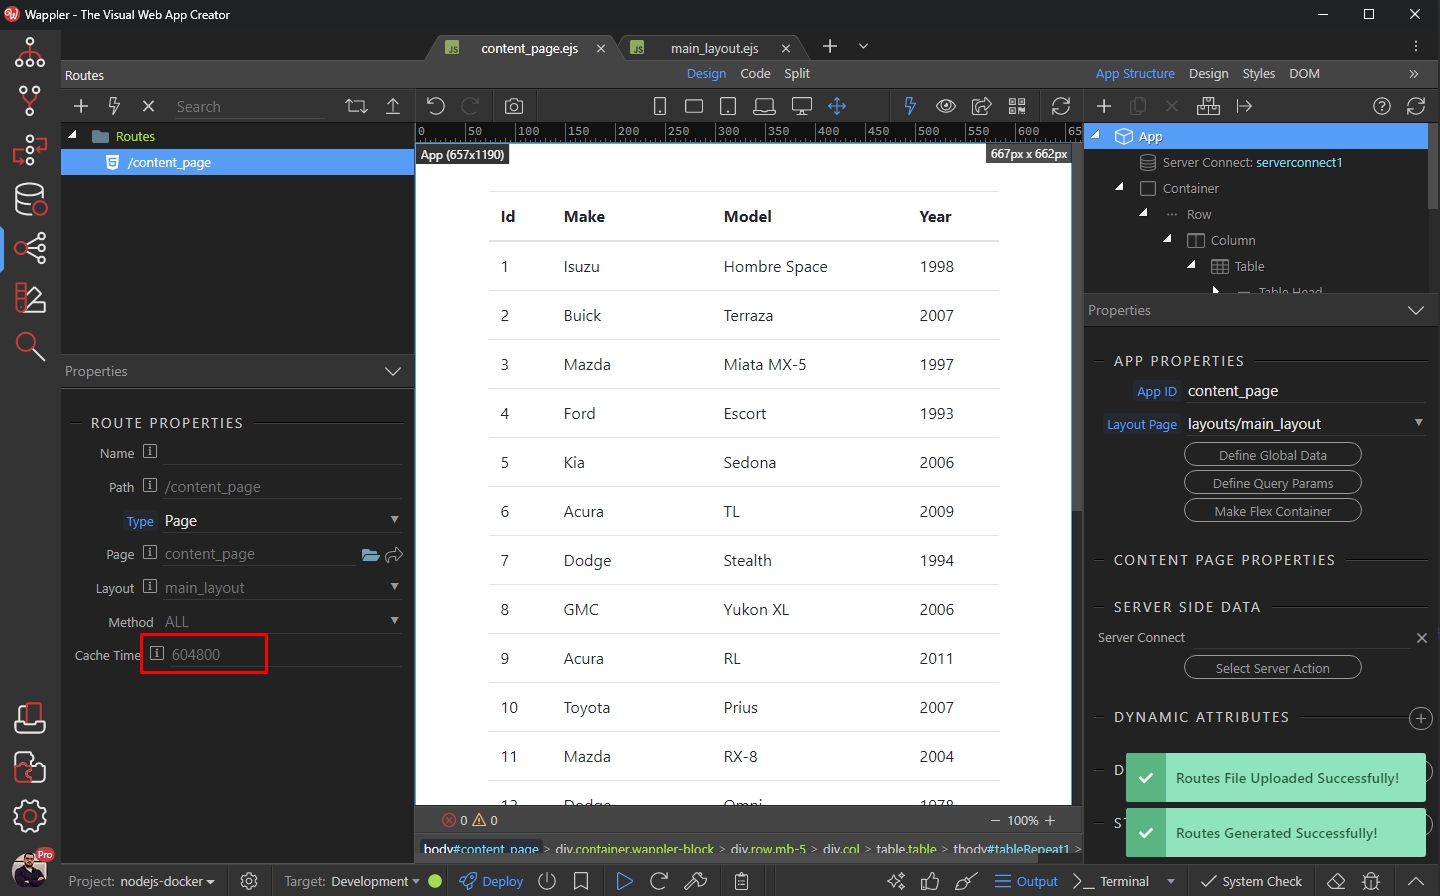
And you are done. Your page will be cached and served from the server cache for all the clients loading it for 7 days.
Don’t forget to Deploy your project to the selected target!
Caching API Actions
You can also cache API Actions, which data does not change that often. This way you won’t make request to the database to get the data and display it to the users.
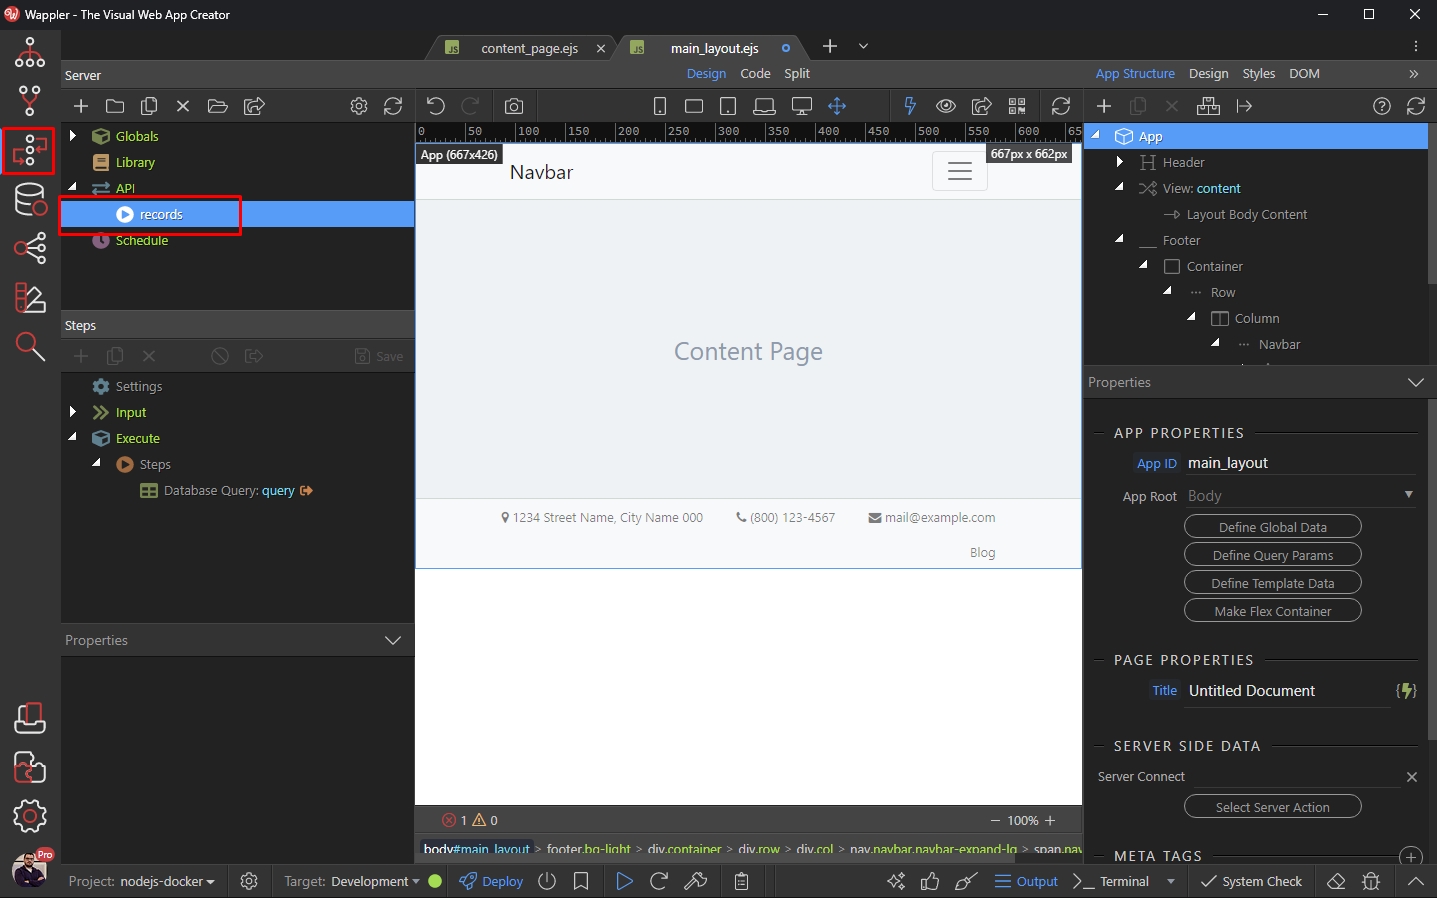
First open the Server Connect Panel and select your API Action:
Click Settings, and you will see the Cache Time option in the Properties Panel:
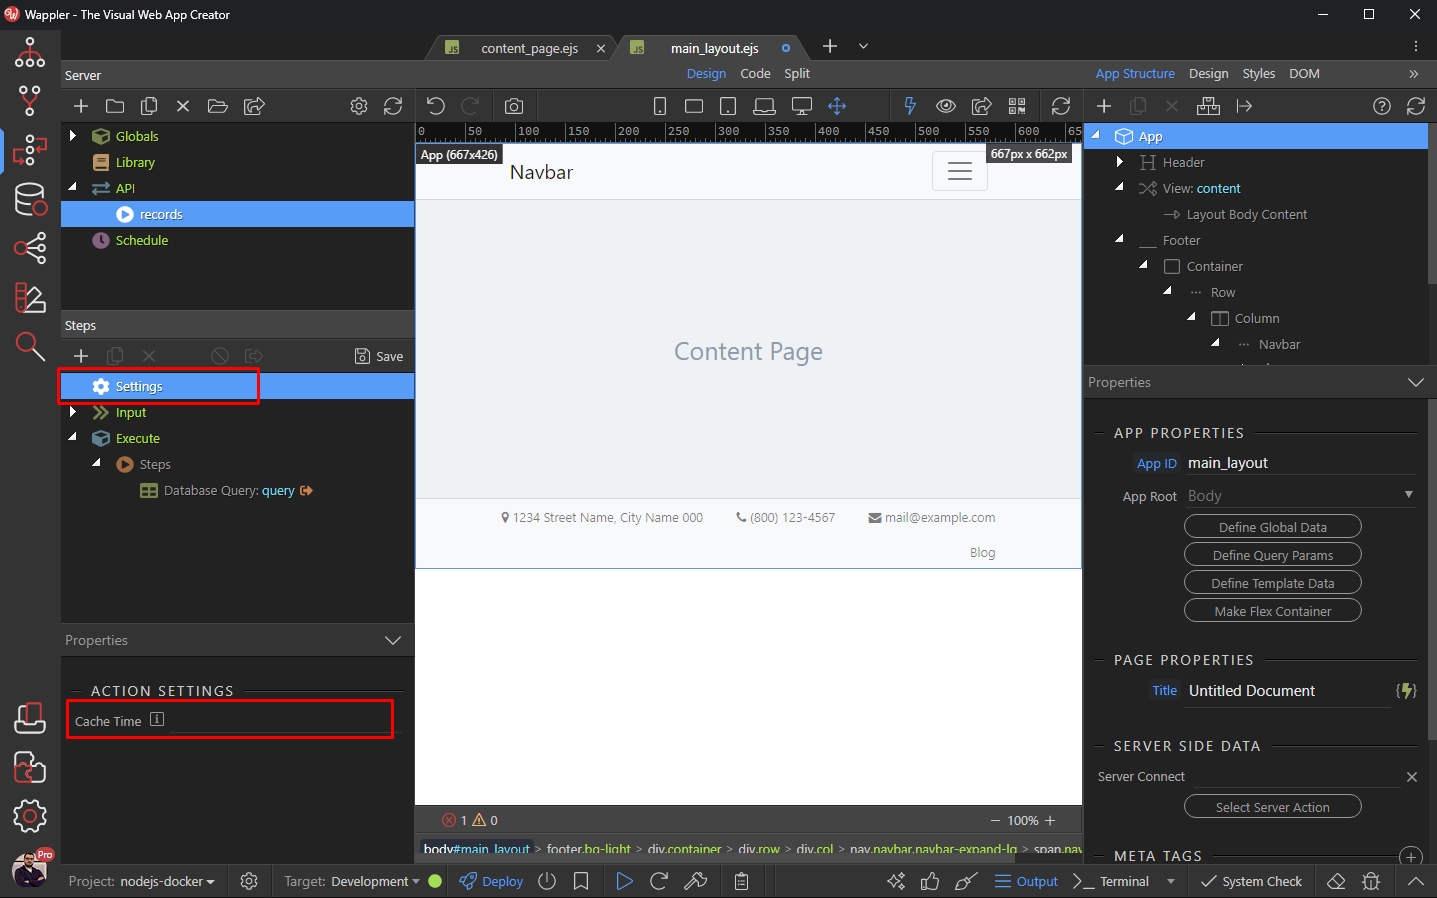
Enter the amount of time in seconds that this API Action should be cached and click the Save button:
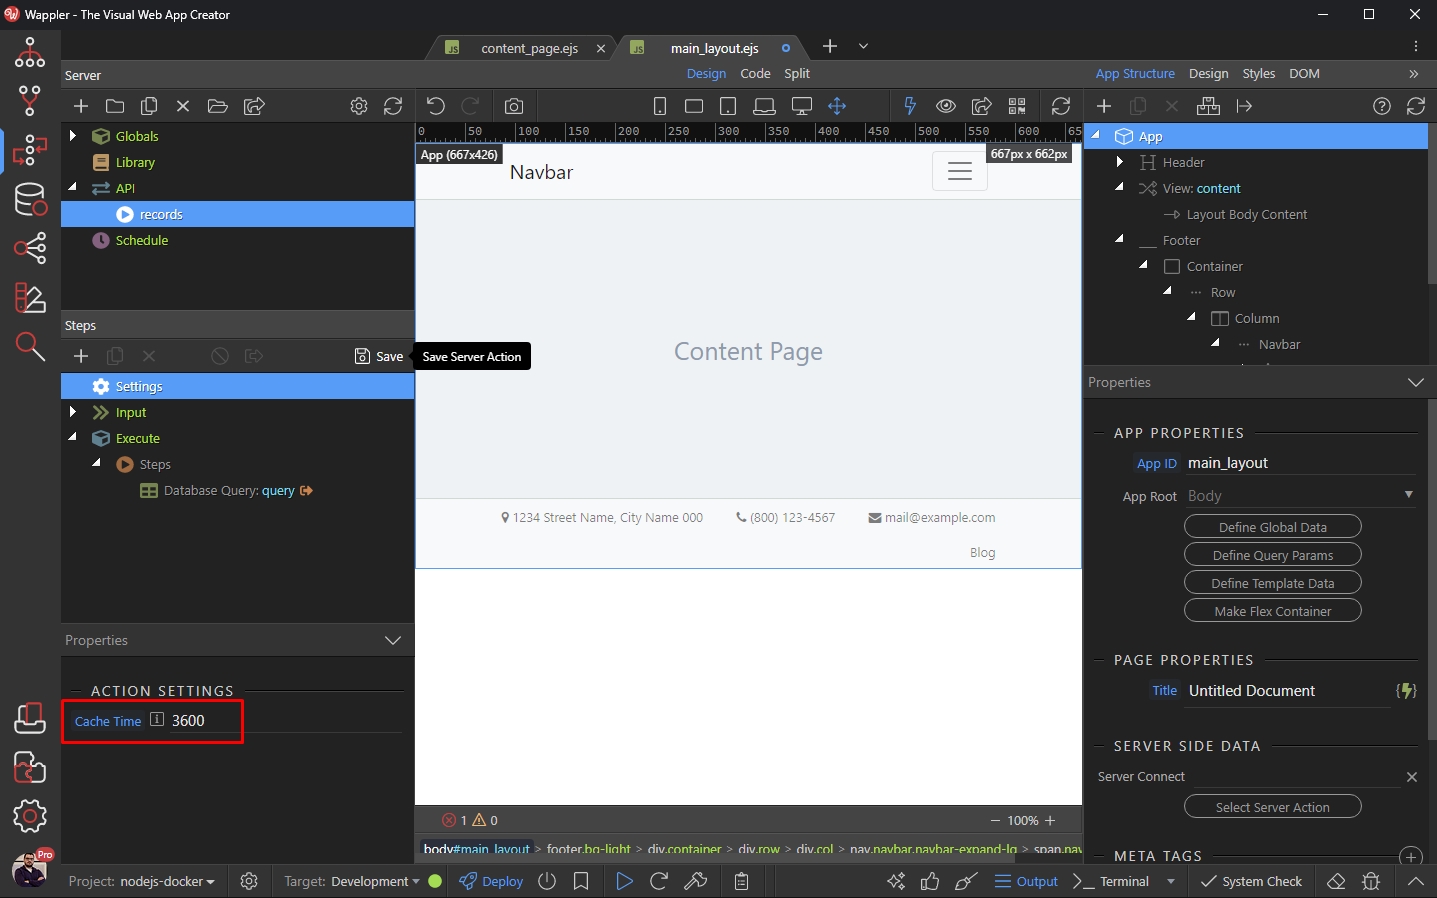
And you are done!
Your users will load the API Action data from the server cache in the next 3600 seconds.
Last updated: