If you have not read Part 1, please go here and read it first.
We have included more Docker power in the latest Wappler update.
Awesome single click Database backup and range of terminals and shells directly at your disposal!
Also The Docker toolbar now has animated icons to indicate actions in progress! Managing Docker development environment has never being easier!
So let see how this all works.
Database Backup - Saving the State
With Docker it is easy to complete rebuild all your images and start from a clean sheet. Very useful when you need to reset your development environment.
However when you do a full rebuild, your database will also get reset and populated with clean initial data (if chosen). That might now always be desirable and sometimes you need to save your current database structure and data and use it as initial data.
This is exactly what the new Save Database Data and Structure option does:
It just dumps you full current running database with its structure and data, to the current target database initialization folder: .wappler/targets/your_target/db_init
and this folder is used to populate your database on rebuild
Rebuilding your Environment
You can fully reset your environment and start with clean sheet with Docker in Wappler super easy.
If your containers are running
Just click on the Rocket icon to shutdown and clear your services.
You will see a confirmation dialog:
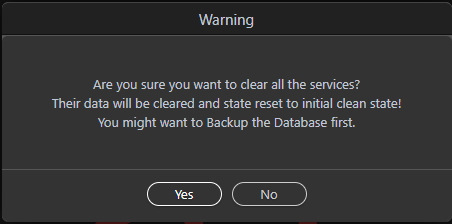
When you are sure, just click Yes.
When completed you will see that all services are offline and the status icon is red.
Just click again on the Rocket icon, to Launch again:
This will rebuild the images and restore your databases with the last saved backup state.
Populating Databases with Sample Data
When you start with new project and need quickly an experimental environment to get you started, it is useful to use the sample database data and files provided by Wappler in Docker.
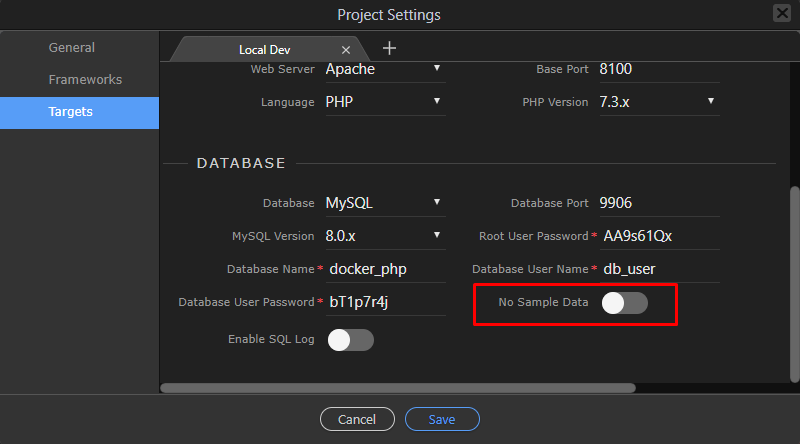
This is the default option, so you don’t have to do anything to take advantage of it:
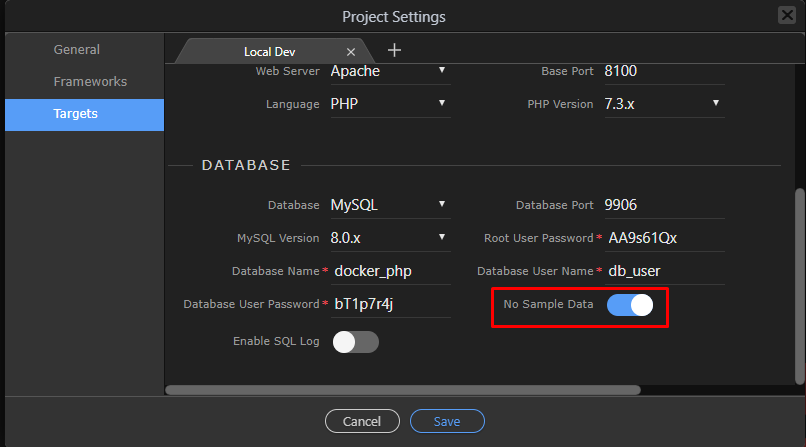
However if you have saved you database with the new Save Database option in Wappler, and you want to use your database save, you might want to switch off the default sample data:
Otherwise each time you open and save the target dialog a new sample database scripts will be placed to be used on a new rebuild.
New Docker Terminal Shells
So now with Docker you have all those different servers, each running on their own. Sometimes you need to get into the shell of the specific service, explore and execute some commands.
You can do this now super easy by just choosing the shell you want:
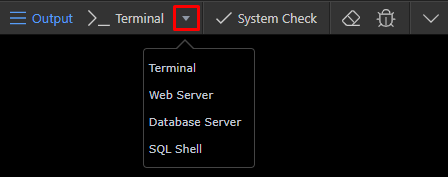
You can choose from:
- Terminal - you local system shell
- Web Server - the shell of the Web Server
- Database Server - the shell of the Database Server
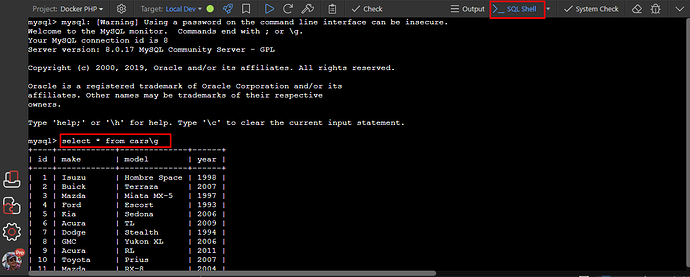
- SQL Shell - go to the SQL Shell of the Database Server for directly SQL commands execution
For example when you enter a SQL Shell, you can enter any SQL commands directly,
Note: Just make sure you end them with \g to get them executed! This is something specific for the SQL Shells.
See for SQL Shell for MySQL and MariaDB or for PostgresSQL
Other terminal shells, like bash shell work as you would expect:
To switch back to the regular output, just click on the “output”, or the shell name to go to the shell:
New SQL Query logging
Another great option for the Database server in Docker is that you can enable the SQL logging to a local folder. This is useful when you want to deep dive into the working of the database and explore all the executed queries.
You can easily enable the SQL Logging option:
Note: Just as with any other Docker option in your targets, you will need to rebuild your containers to see it activated. See above about Rebuilding your Environment
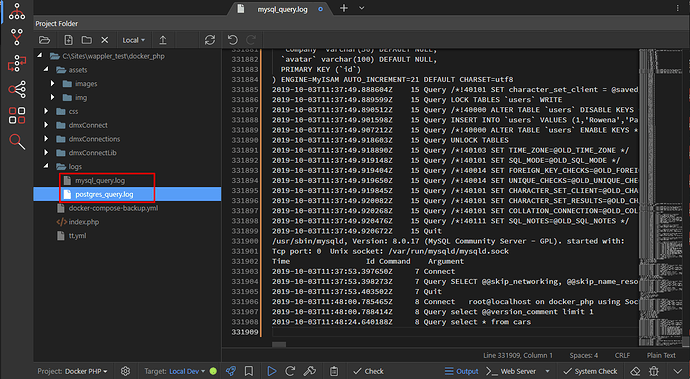
This will generate a special log file called mysql_query.log for MySQL/MariaDB or postgres_query.log for Postgres, then you can just open and view them:
Do note that those files can get quite big so delete them regularly and make sure you don’t commit them to your Git repositories!
Conclusion
So now you can discover the great powers of Docker build into Wappler. Try it out and let is know what you think.
Continue to read Part 3 of the full Docker tutorial.
Last updated:


