Dropzone provides you with drag and drop file uploads with image previews.
Adding Dropzone on your page
We created a basic Bootstrap 4 Layout with a column, where we want to add the Dropzone component. The first step is to create a server connect form. Click the add inside button:

And add a Form:

Change the form method to POST:

And click the Make Server Connect button, to convert the form to a Server Connect Form. That is required by the Dropzone component:

Then select your form and click the add inside button:

Open the Forms category and select Dropzone:

Choose whether to allow multiple files to be uploaded or not:

You can customize the default message displayed inside the Dropzone:
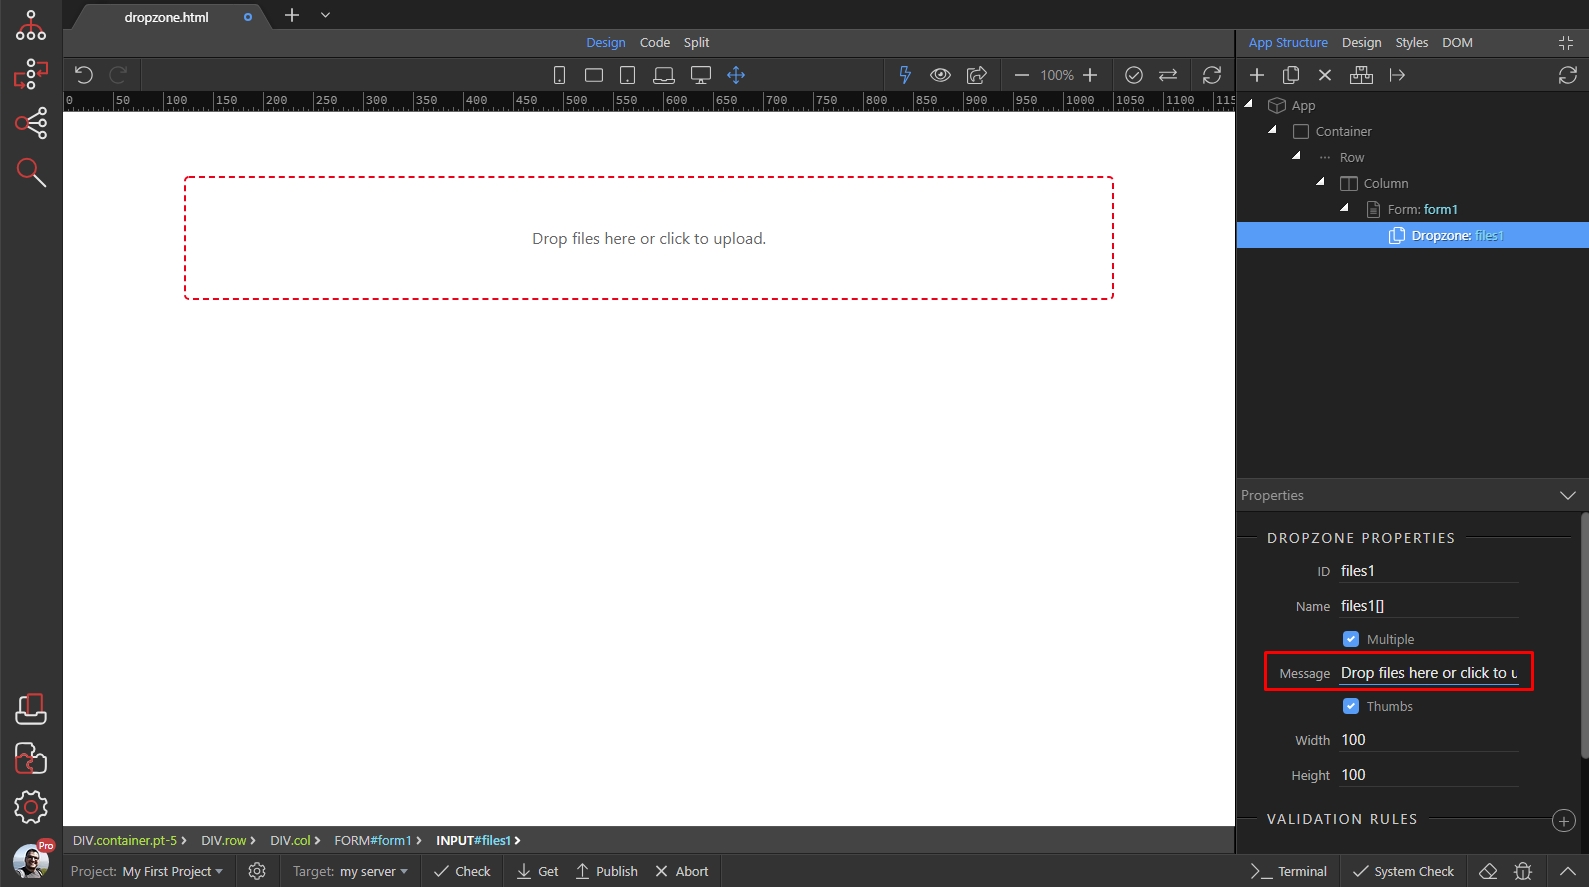
Enable or disable thumbs preview. Also you can set their width and height:

You can allow only certain file types to be dropped. Add new validation rule:

Under files, select the Accept rule:

And enter a comma separated list, of file extensions to be accepted. For example .jpg, .png:

Now as we set up the Dropzone, we need to add a submit button to our form. Right click Dropzone in app structure:

Add a Button:

Change the button type to Submit:

We are done setting up our form, so now we need to setup the Server Action which uploads the files. Open the Server Connect Panel:

Create new server action:

We call it dropzone_files:

Click Globals, browse to your page containing the form and select it:

Then select the form in the dropdown and click the Import from Form button:

This imports the form fields (in our case the Dropzone) in the POST variables list:

Right click steps:

Under File Management, select File Uploads:

Then click the dynamic data picker to select your upload field:

This is the Dropzone field under POST variables:

Select your upload path:

And save your server action:

Back on our page, select the form and click the Select Server Action button:

Select the server action which we just created:

Save your page, and you are done:

Now you can drag and drop files in the Dropzone, when you submit the form the files will be uploaded:

NOTE: If you want to insert the uploaded file names to your database, just follow the same steps as for regular single / multiple file fields:
Last updated: