Intro
Empower full client side reusable workflows - with App Flows! Now you can define App Flows, just as you are used to do on the Server Side with Server Connect and enjoy the same powers but on client side and in mobile apps!
Unlike Page Flows, which can be used on a single page only, App Flows can be reused on multiple pages in your project.
NOTE: Please make sure to enable the Experimental Features in Wappler options in order to use the new App Flows.
App Flows
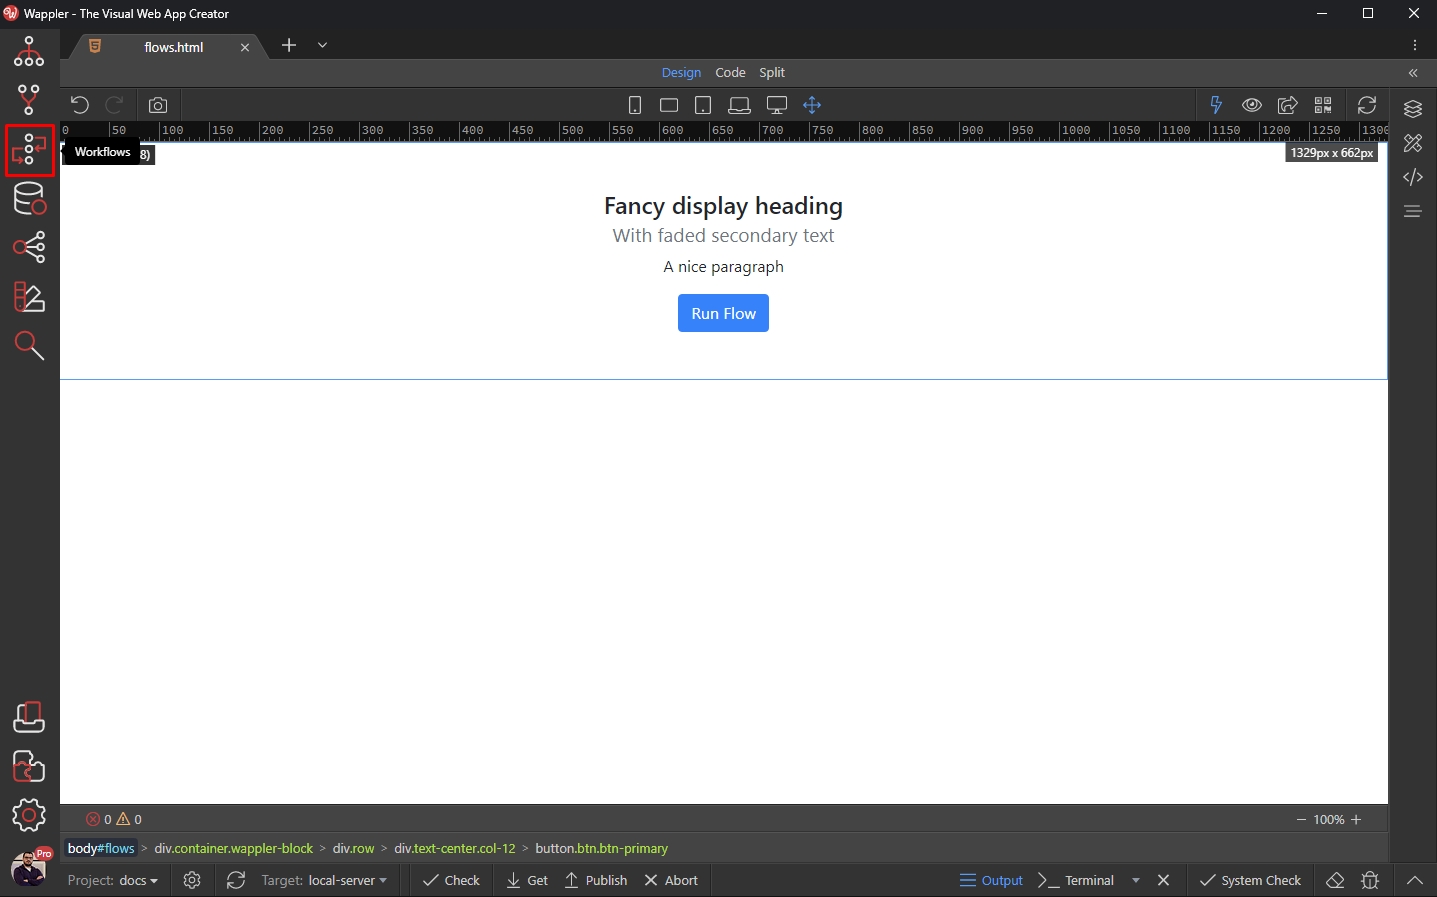
Let’s start with creating a simple reusable flow.
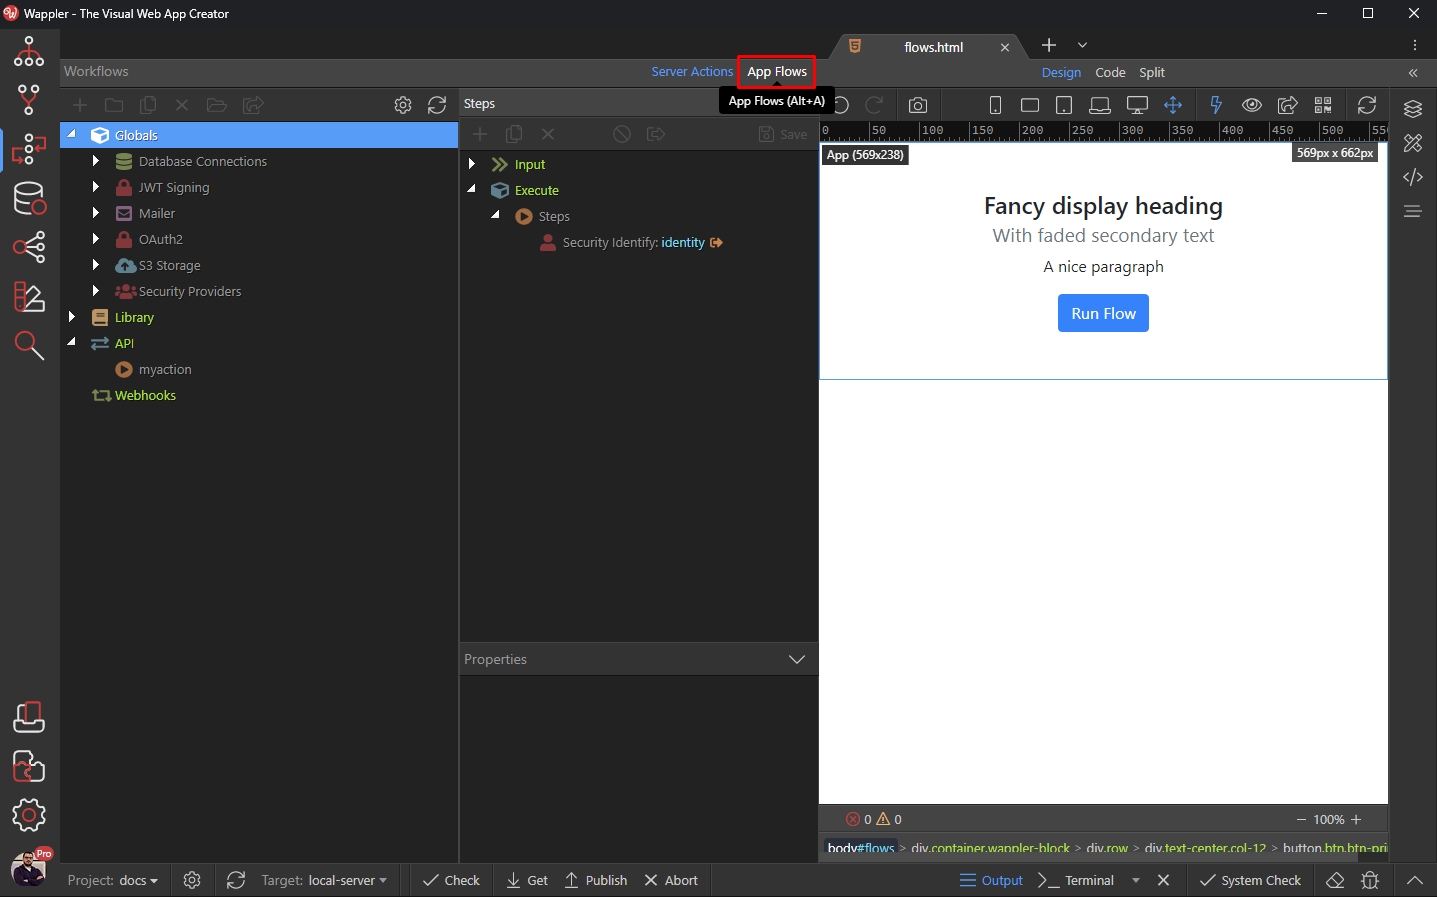
App Flows are located in the Workflows Panel (previously called Server Connect):
Then you can choose between Server Actions and App Flows. We select App Flows or (Alt + A keyboard shortcut):
Creating an App Flow
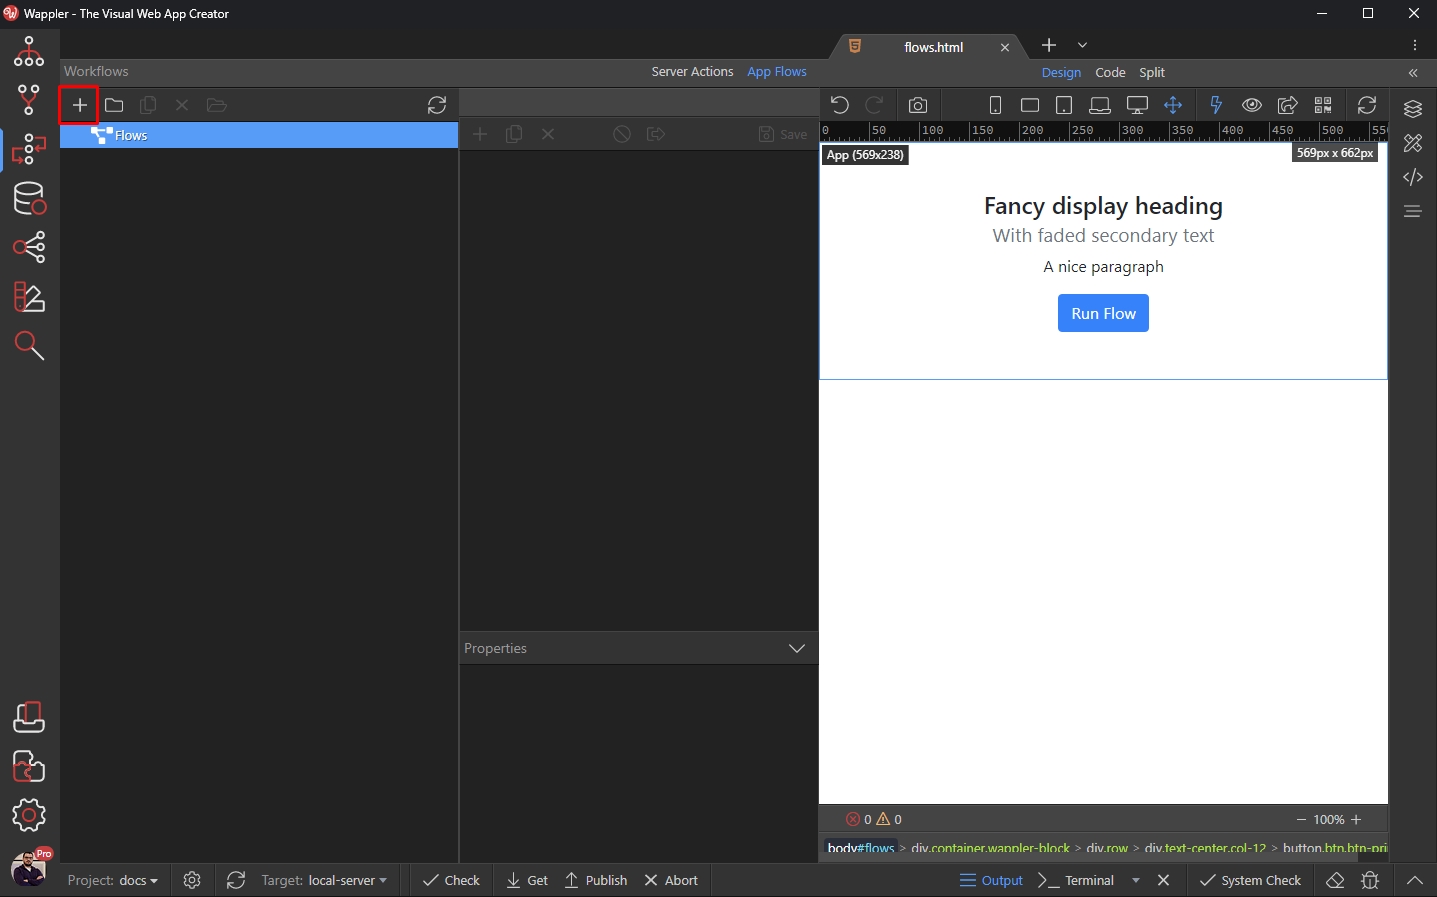
Creating an App Flow is as easy as creating an API Action in Server Connect panel. Just click the Add New button:
And add a name for your flow:
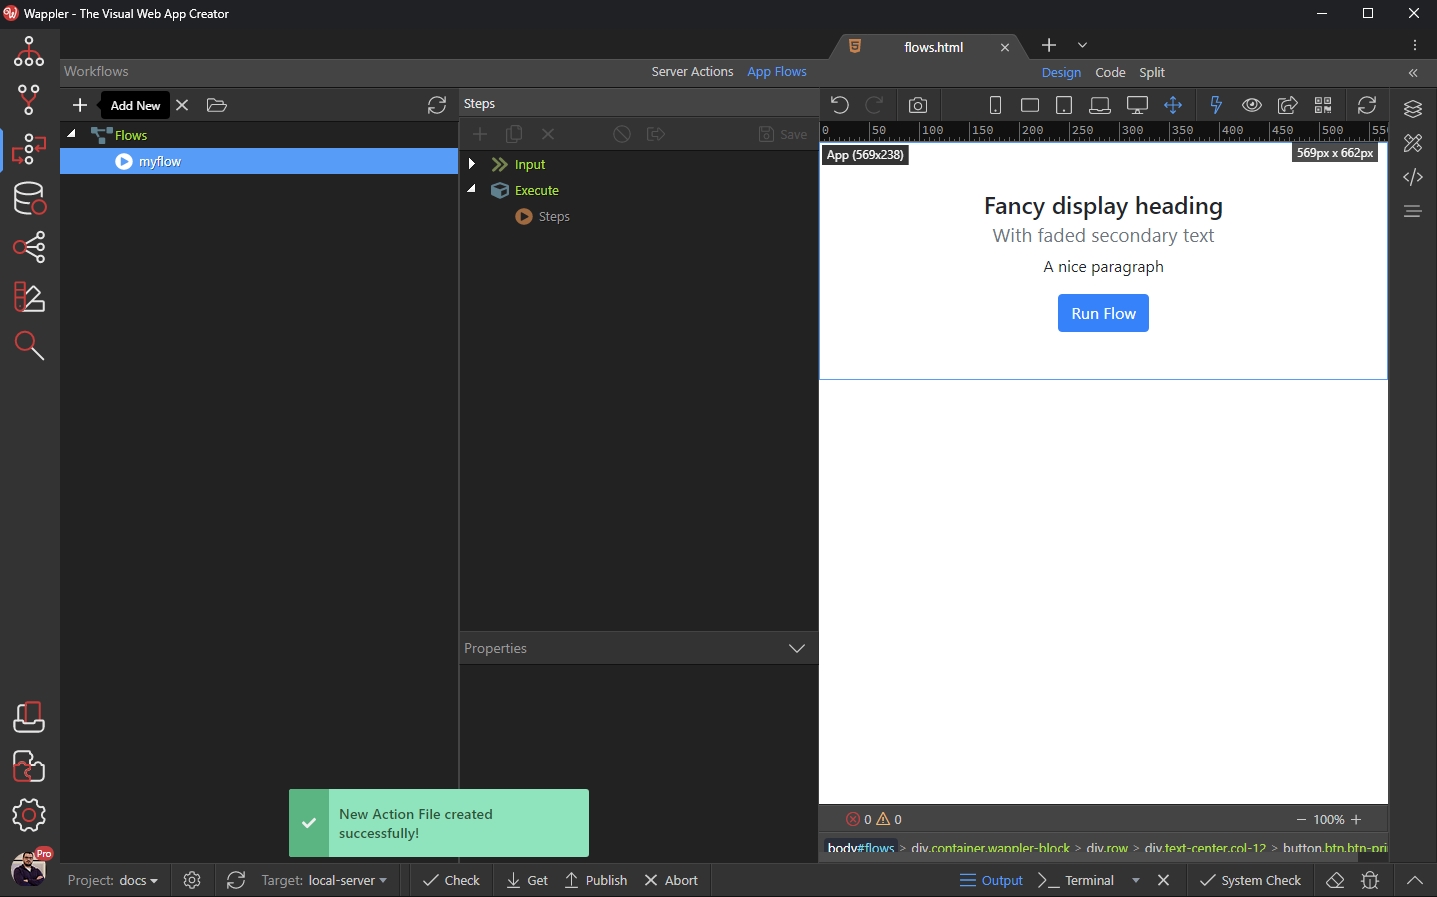
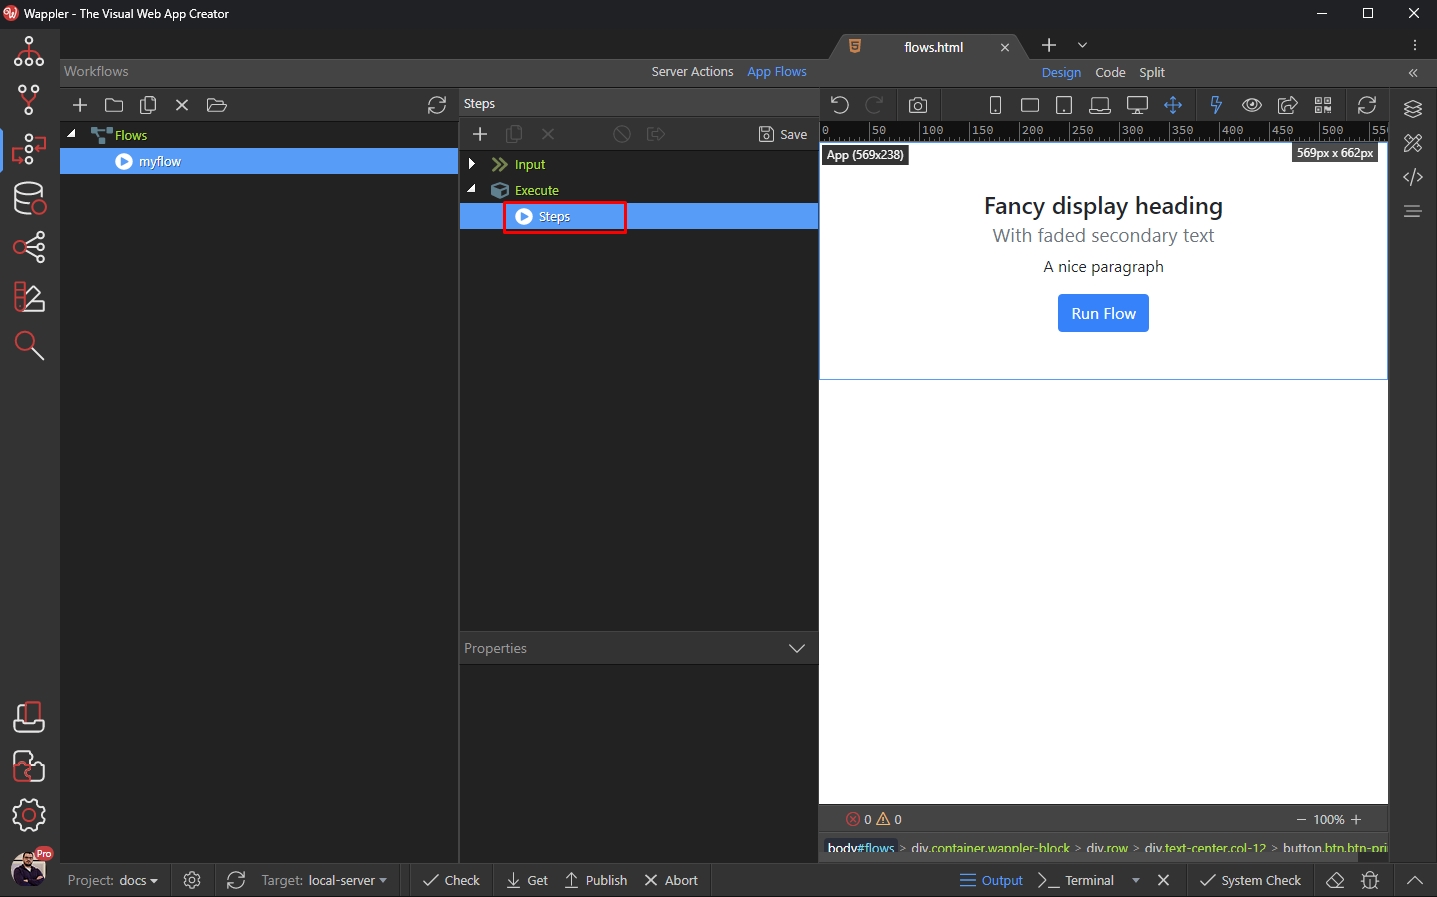
Let’s add some step in our flow. Right click steps:
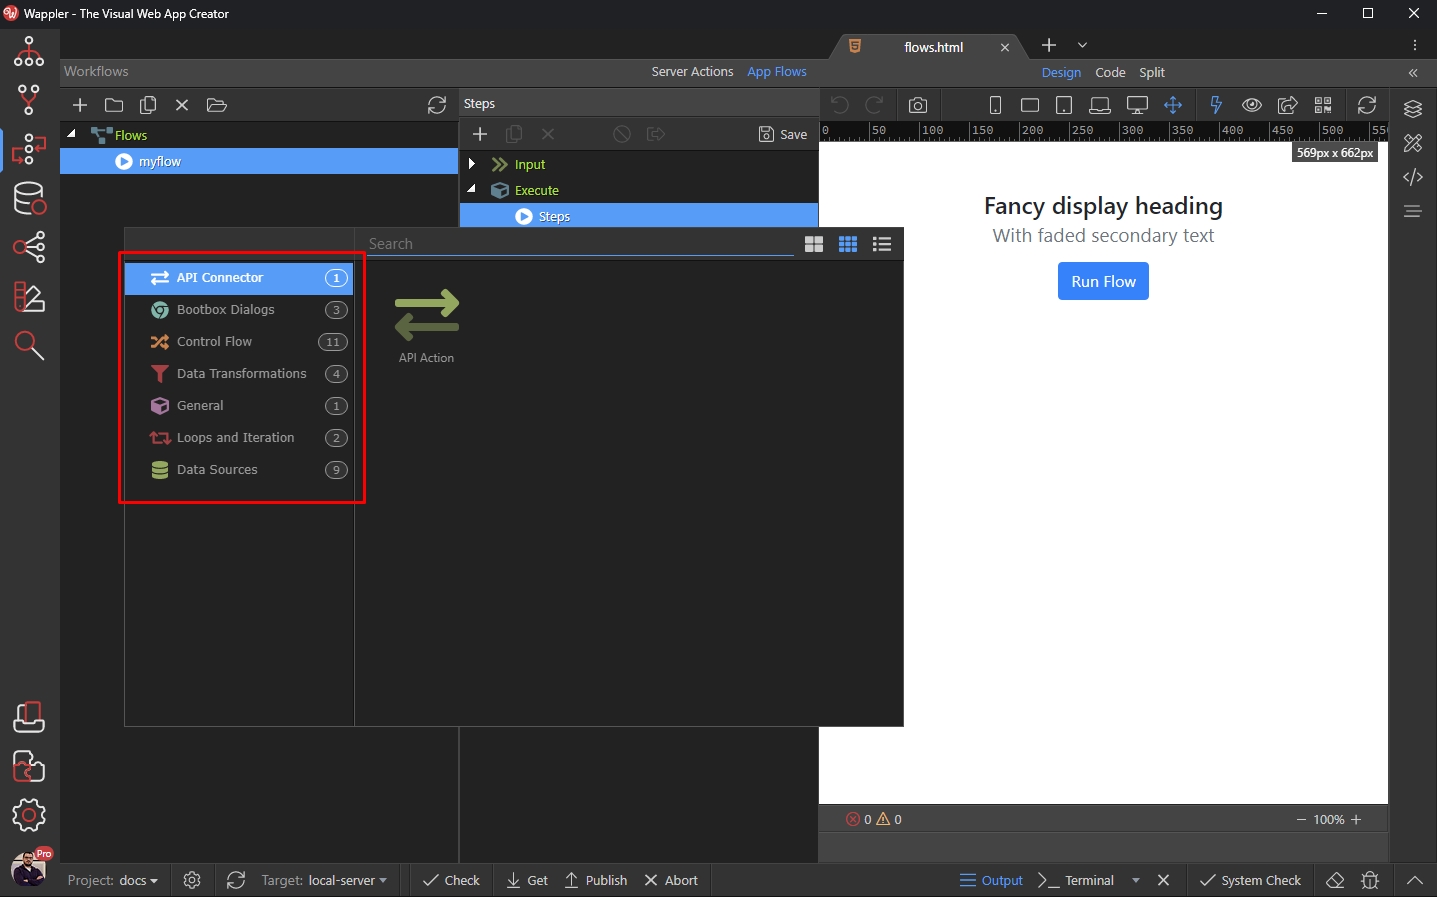
You can see the available flow steps in separate categories:
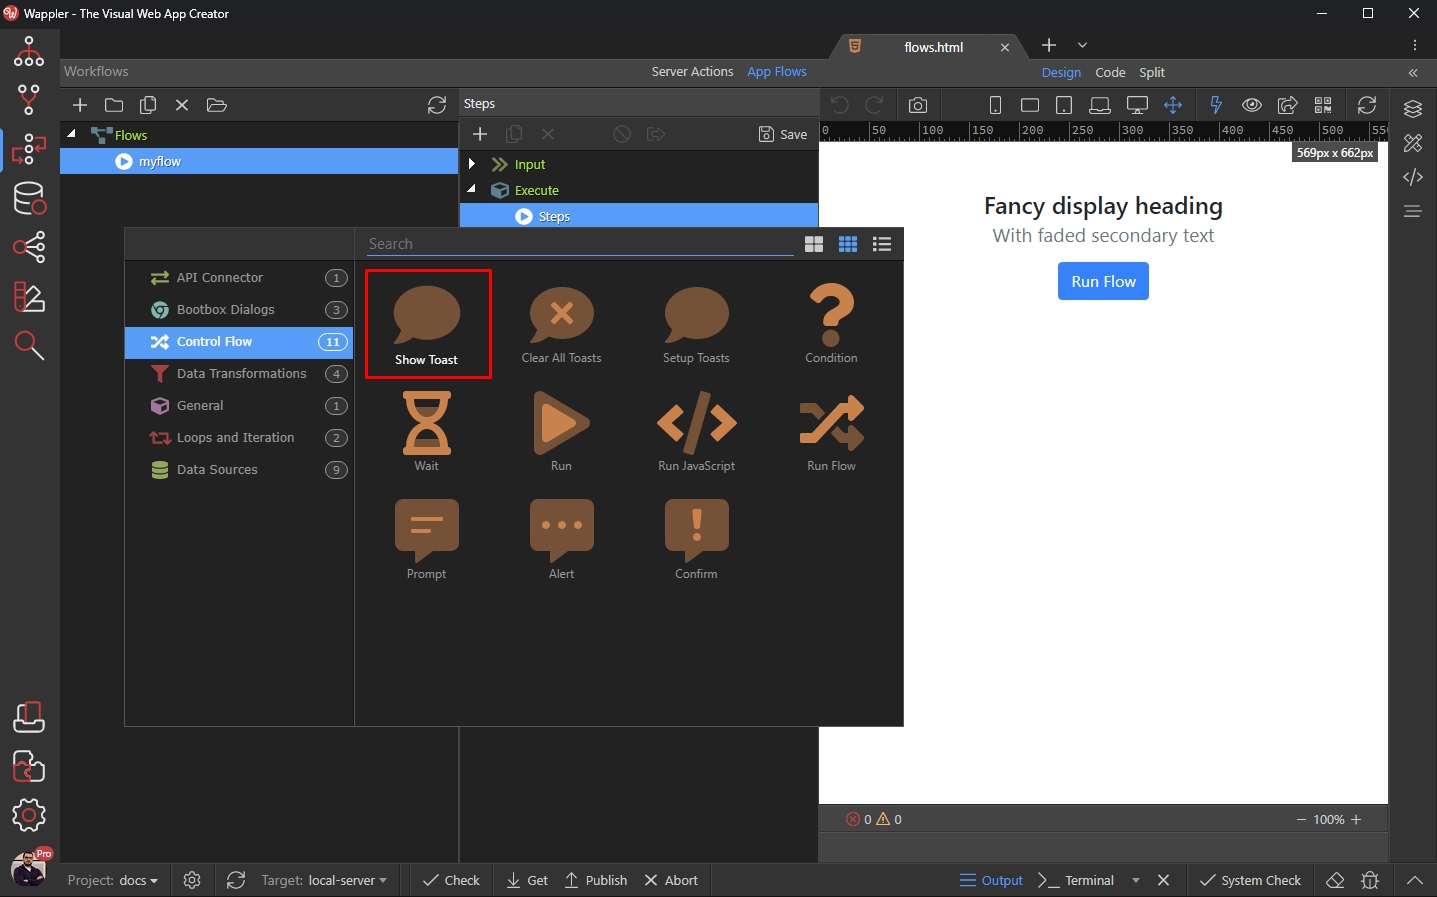
In our example we will show you how to show a Toast message. Open Control Flow and select Show Toast:
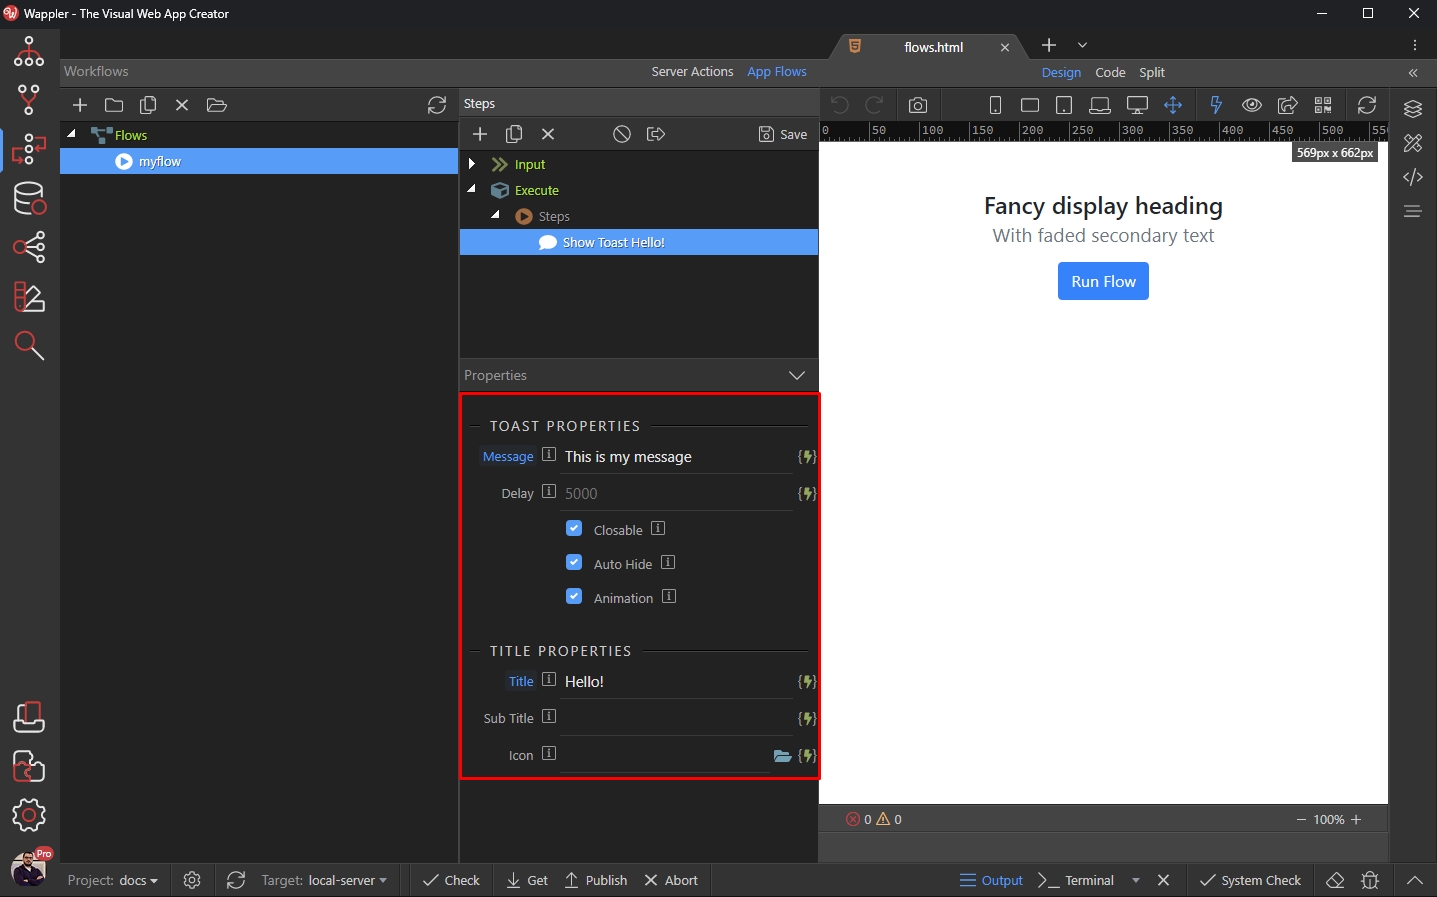
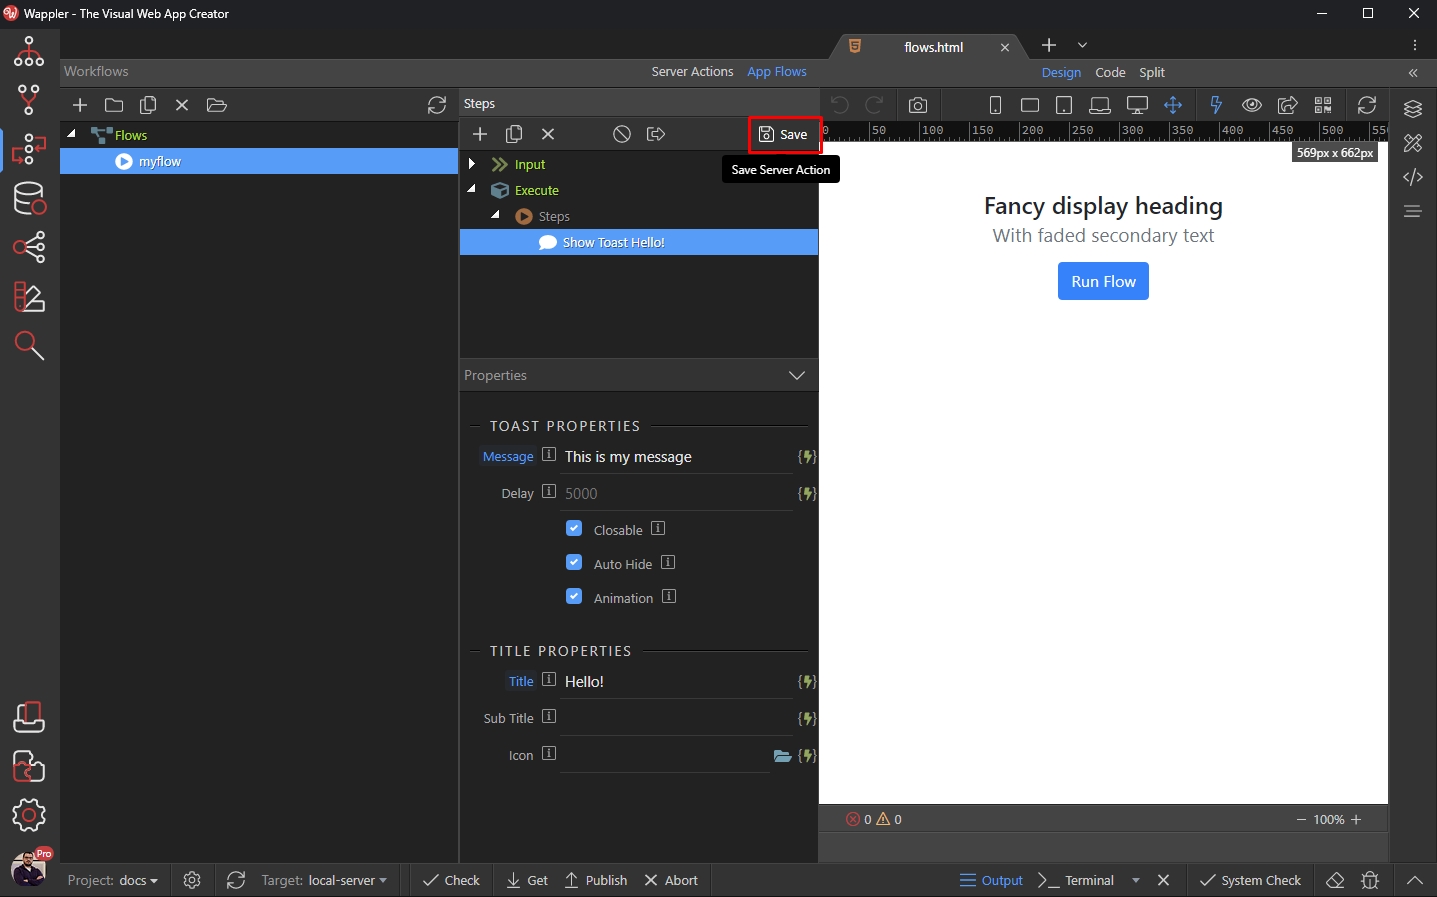
We adjust the Toast properties:
And save our App Flow:
And we are done. We can now use our App Flow on each of the pages in our site/app.
Include App Flows on Your Pages
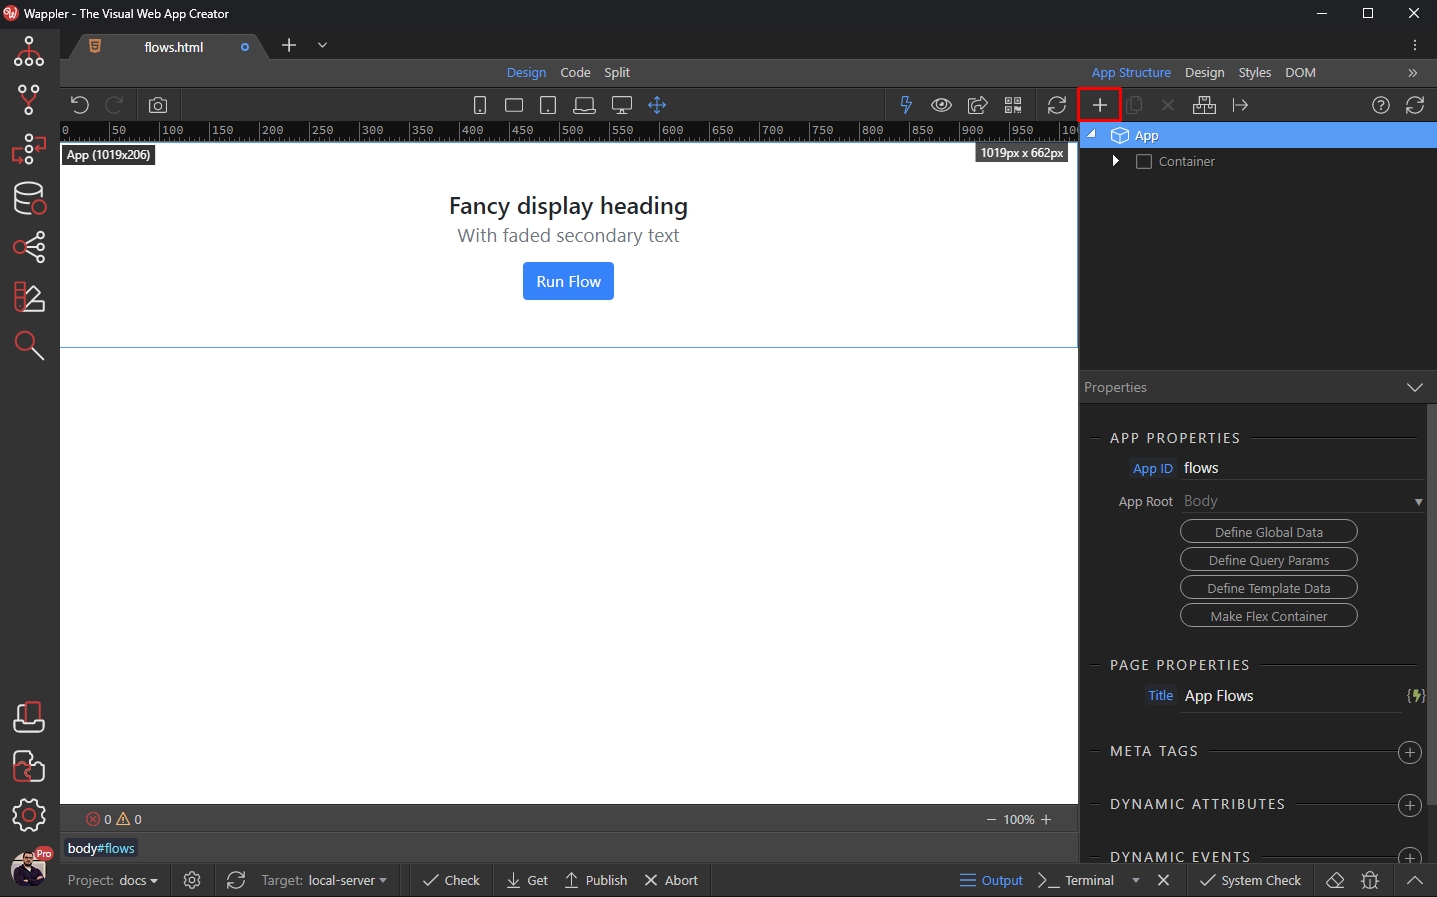
Close the Workflows panel and open the App Connect panel. Select App and add a new component:
Open the Workflows menu and select App Flow:
Then select your Flow by clicking the Flow Action button:

Select the Flow Action and click Select:

You can choose to auto run the flow on page load or not:

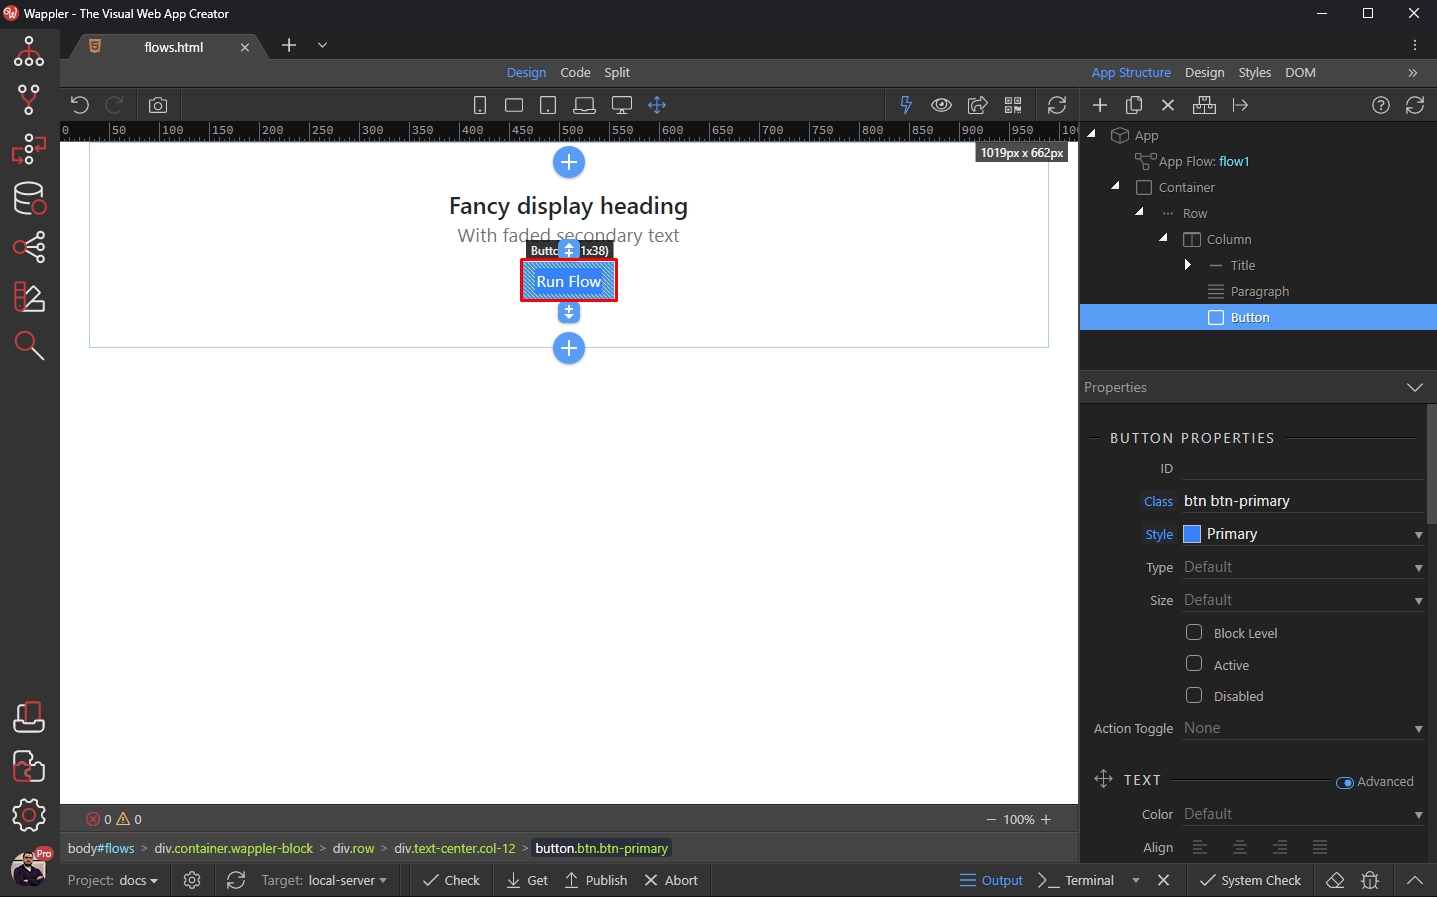
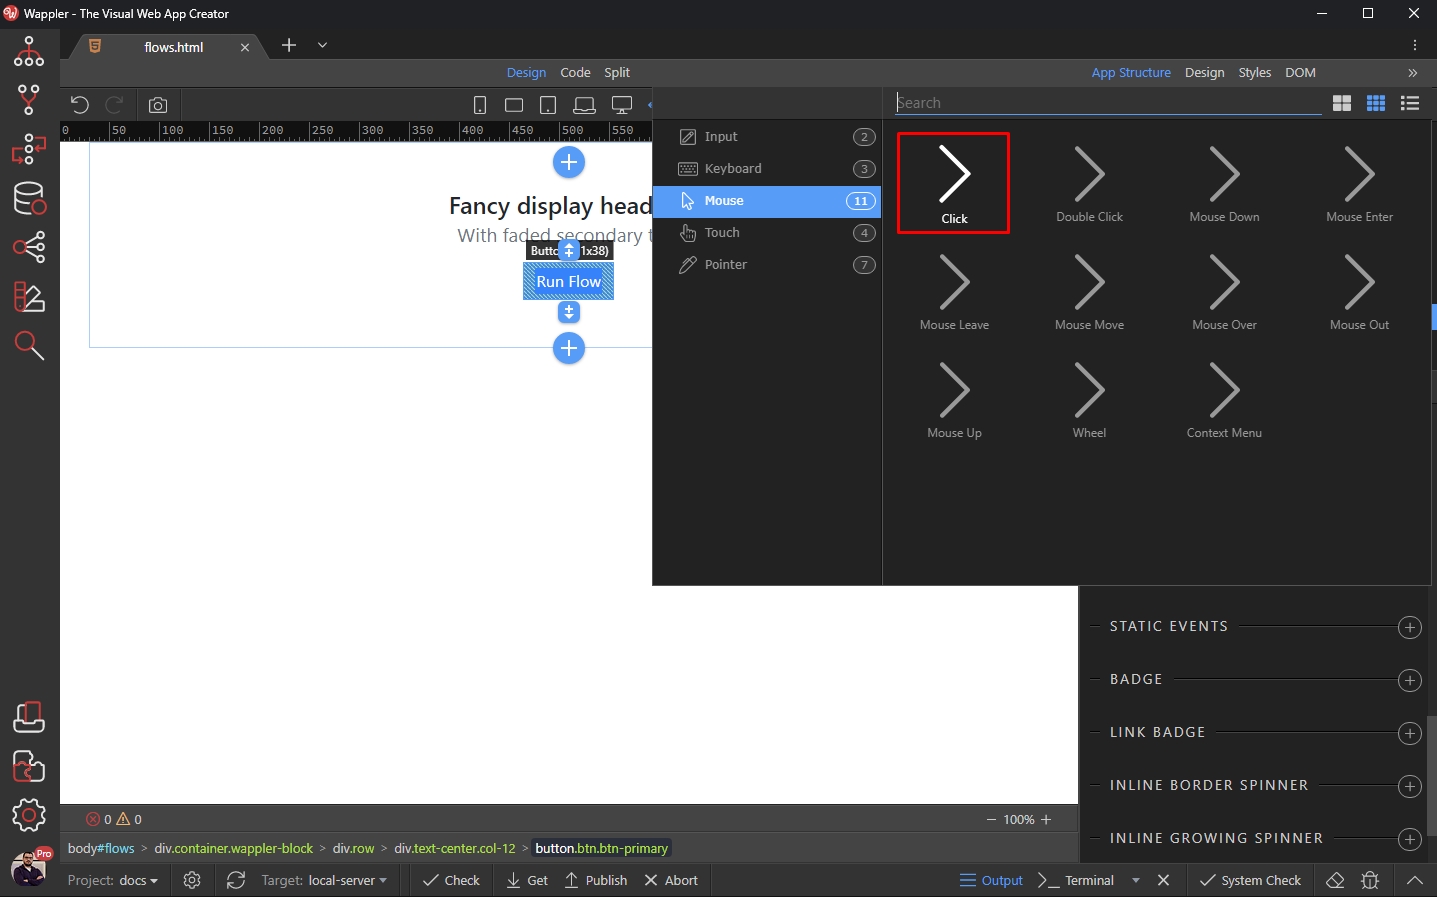
You can also run the flow using the dynamic events. We select a button on our page:
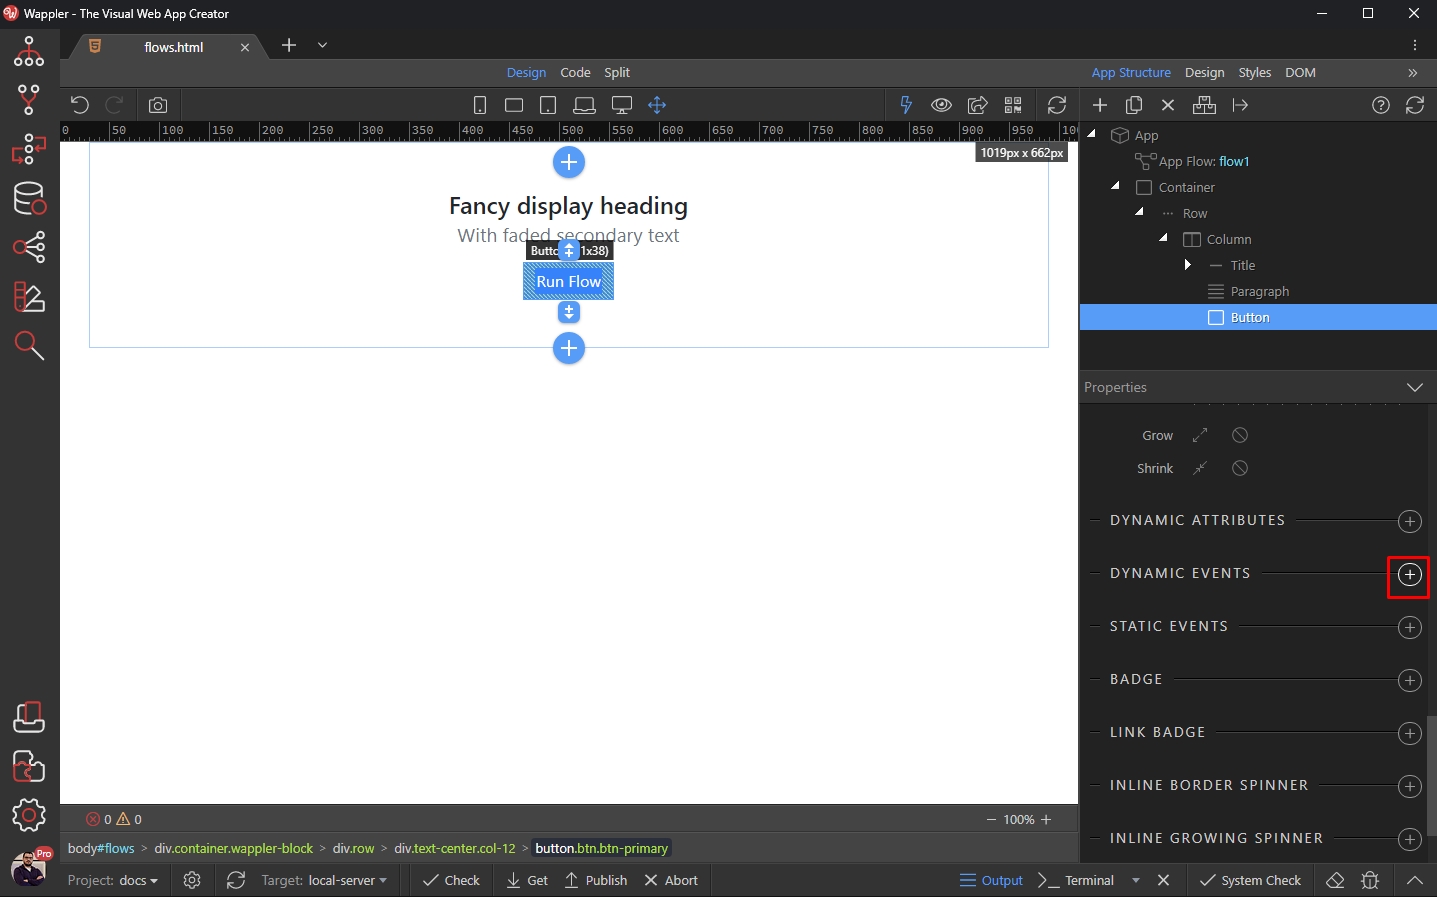
Then add a new dynamic event:
Select Mouse > Click:
And click the dynamic action picker button:

Under App Flow select Run and add it:

Click Select:

And you are done. You can include this App Flow on as many pages as you like.
Here’s the result in our browser:
Last updated: