Intro
In this tutorial we will show you how to create a mobile project in Wappler and some of the basics of Framework 7 - the framework used in Wappler to build your Mobile App Layout.
Creating a Mobile Project
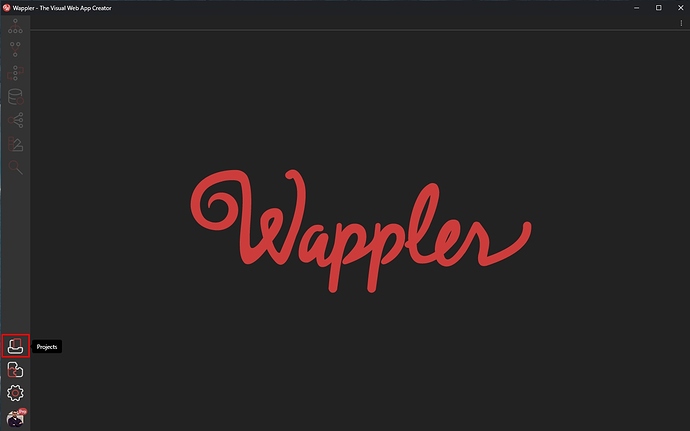
The first step is to create a Mobile Project from scratch in Wappler. Open the Project manager:
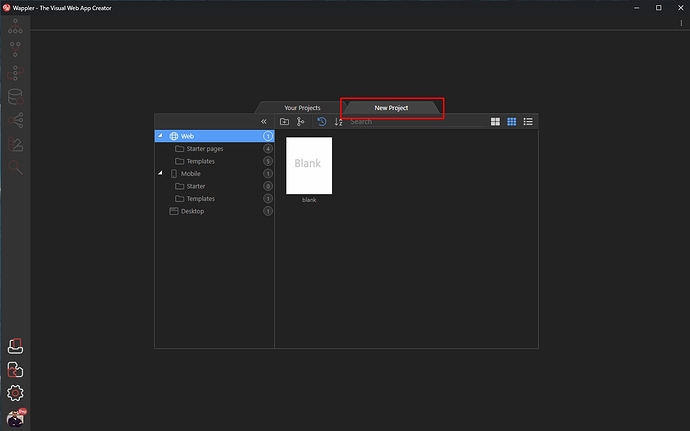
Select New Project:
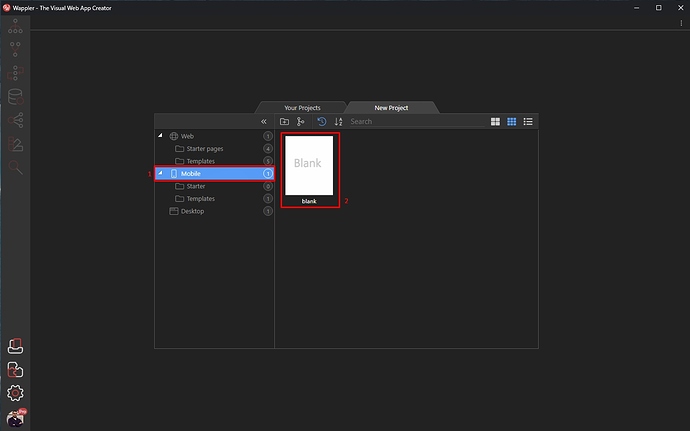
Then select Mobile (1) and click Blank (2):
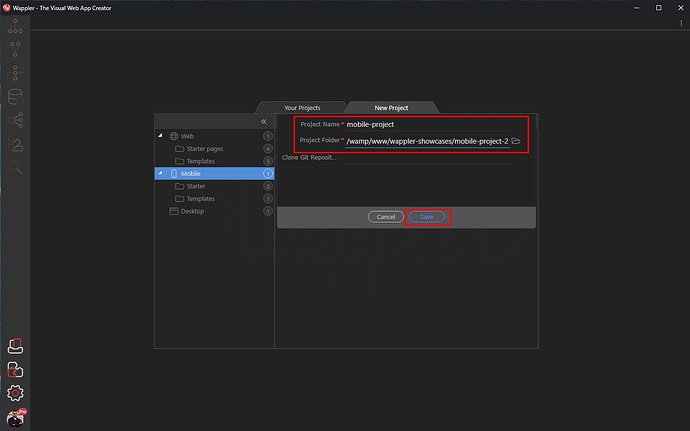
Add a name for the project and select the location on your hard drive, where it should be stored:
Click Select when you are done.
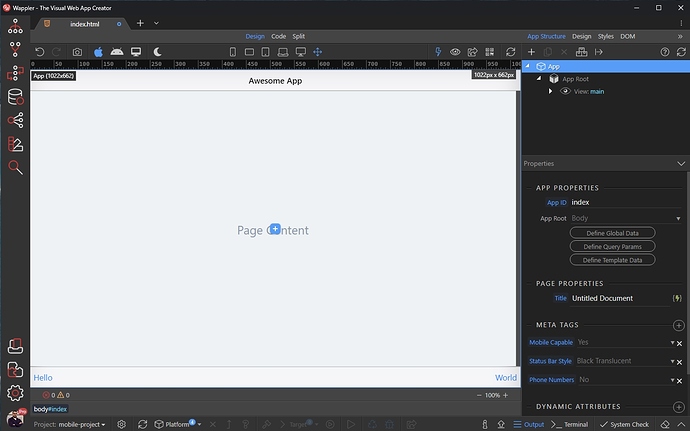
Your project is now created and the index page is loaded in Design View. All the required frameworks are added - App Connect, Cordova, Framework 7 and Framework 7 Icons.
Adding Page Content
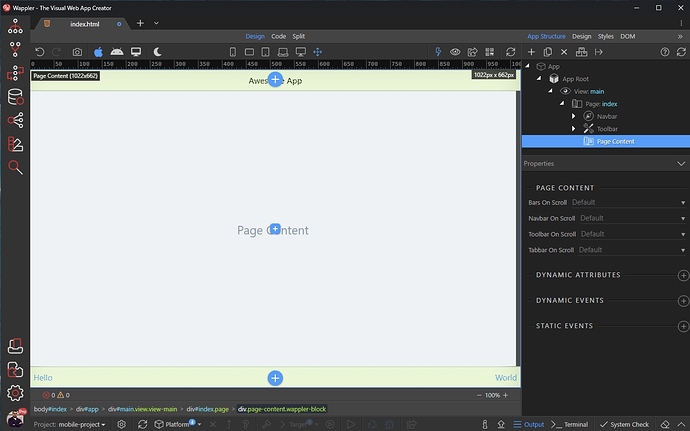
This is your app main page. By default it consists of a content area, navbar and toolbar. You can add the elements you need in the content area. In your app you only need one main page, all the pages you create later will be content pages, which will be loaded in the main page.
Links List
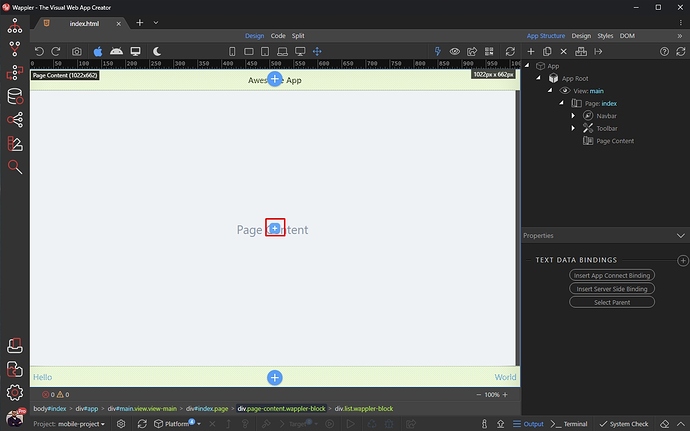
Adding content on you page i easy. Select the Add New Element button in the Page Content area:
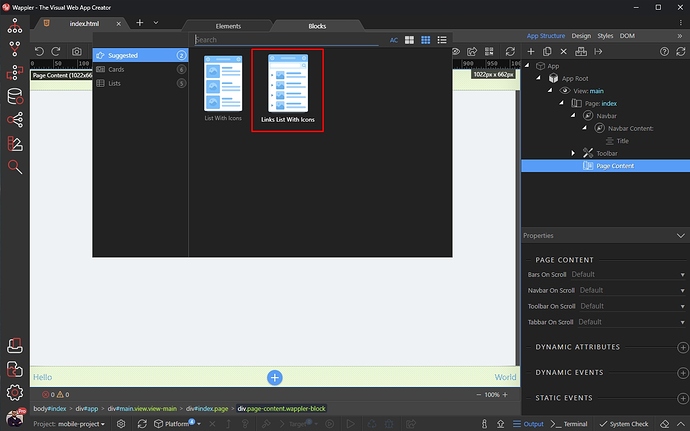
There are predefined blocks available for your pages. In our example we will show you how to use Link Lists. These are useful lists with links, that can be used to navigate do different pages or control different components on the page - open or close modals, panels, cards etc.
We select Links List with Icons:
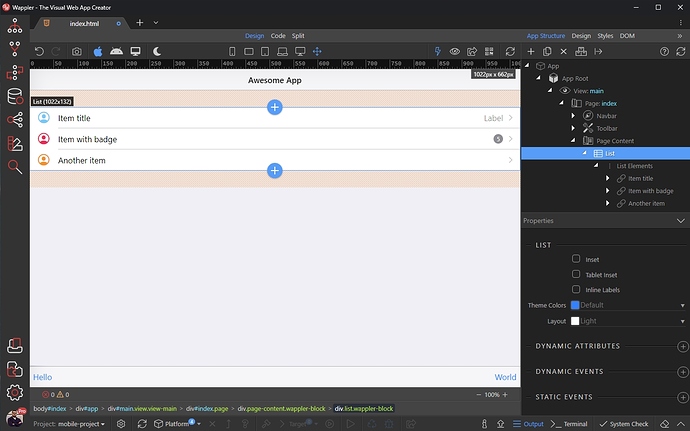
This is a great looking list of links which contain text, icons and also a few other additional elements:
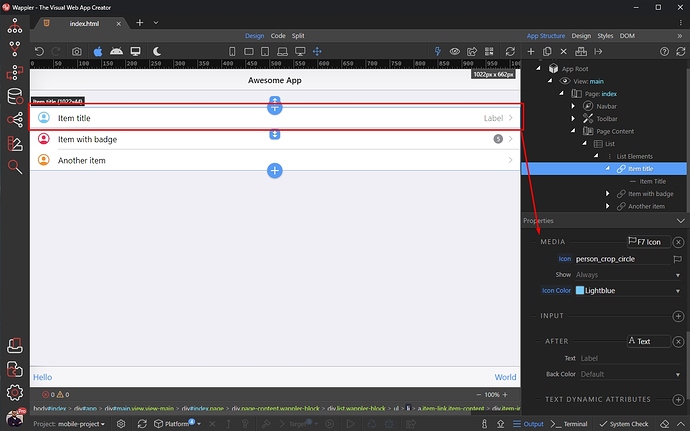
You can find the properties of any list item in the Properties panel, when you select it:
You can add different media elements on the left side of the list item text. You can choose the media type under the Media section. You can choose between an image, regular icon or Framework 7 Icon. By default, there’s a Framework 7 icon added:
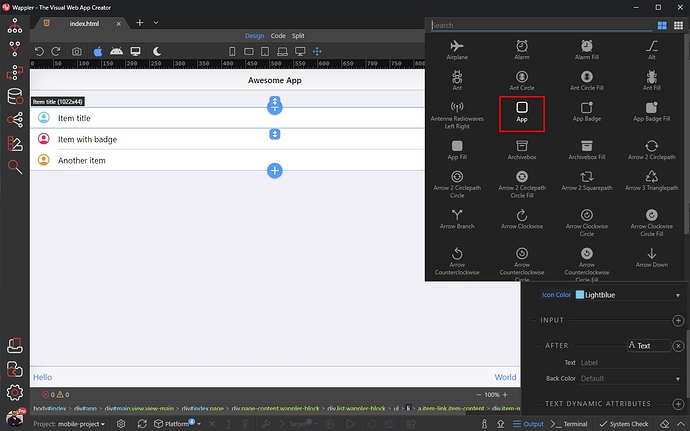
You can select a different icon:
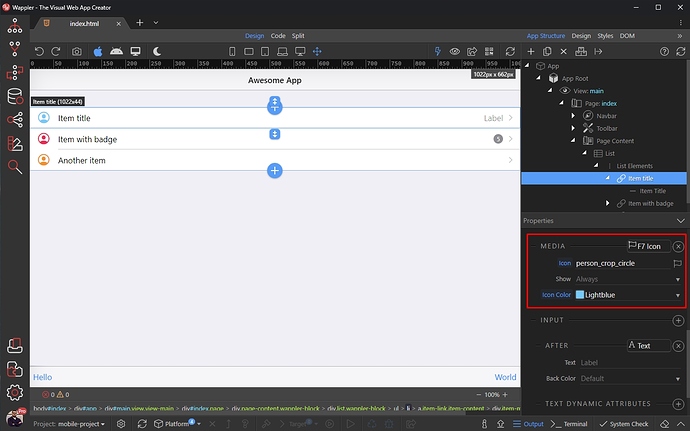
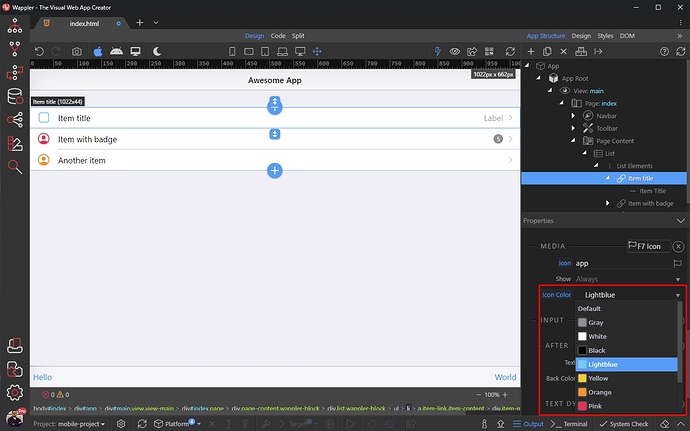
And also change its color:
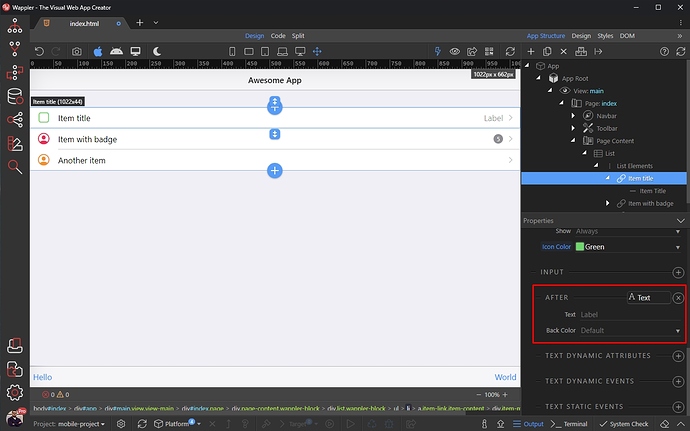
You can also add different elements after the Link List text:
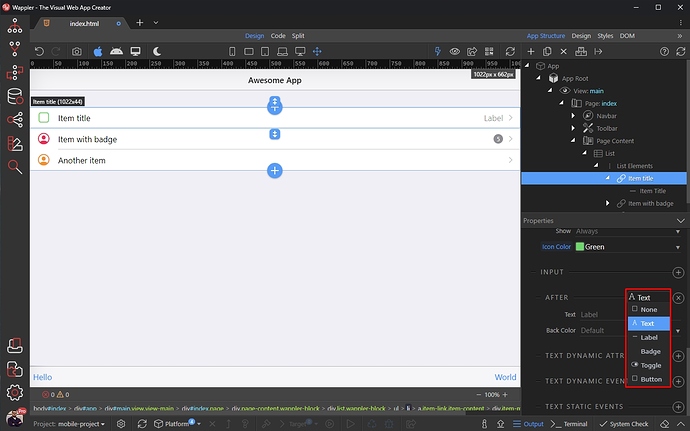
The elements you can choose from are Text, Label, Badge, Toggle, Button or None:
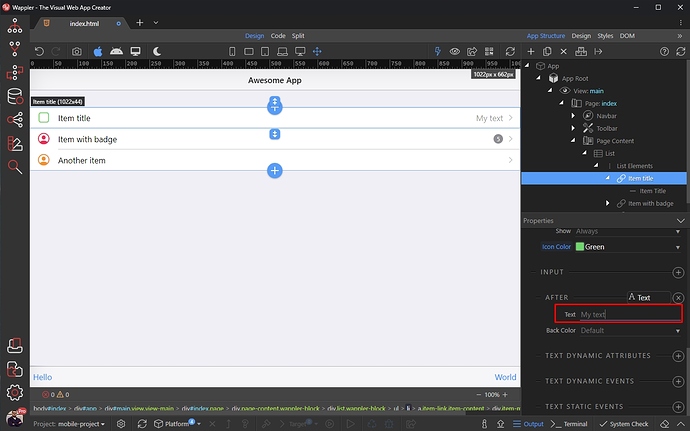
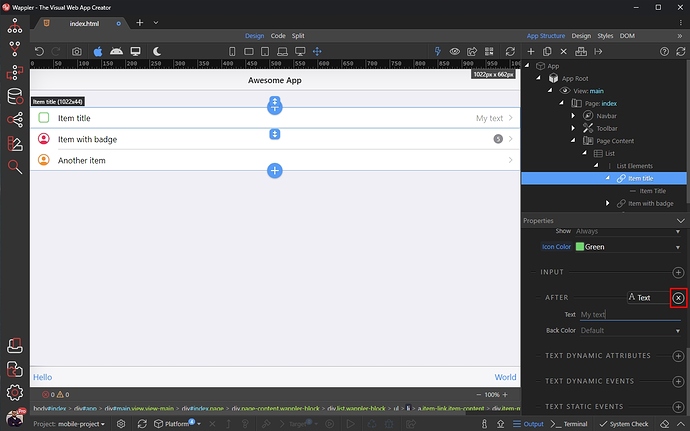
If you select Text, you can enter any custom text:
Also, you can remove the After element, by clicking the remove button:
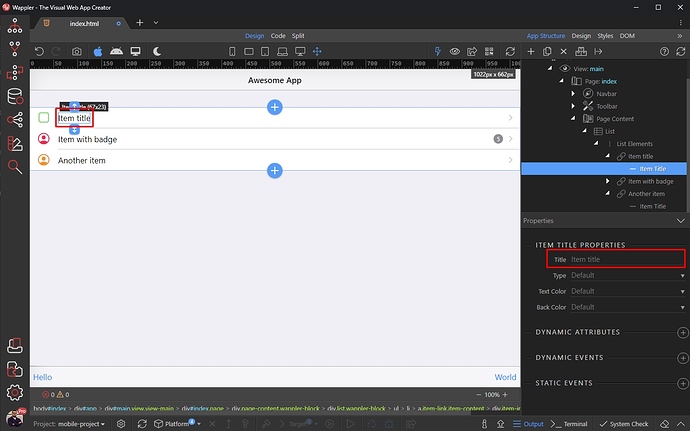
Editing the List Item text is also easy. Select the text in Design View and enter your custom text:
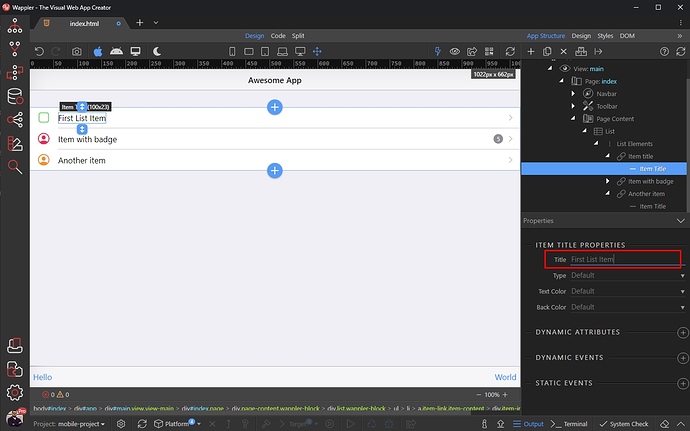
You can see the results immediately in Design View:
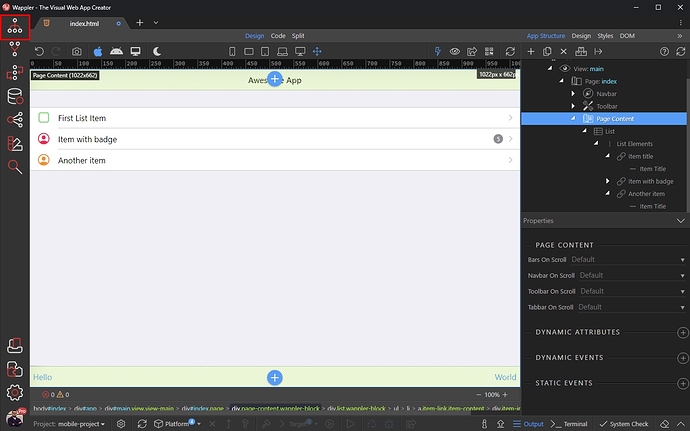
So you can easily customize the Links Lists on your page as you wish.
Content Pages
Content pages are the different pages of your app - whether you need a gallery, a contact form or any other section for your app. You can add as many content pages as you need.
Creating a Content Page
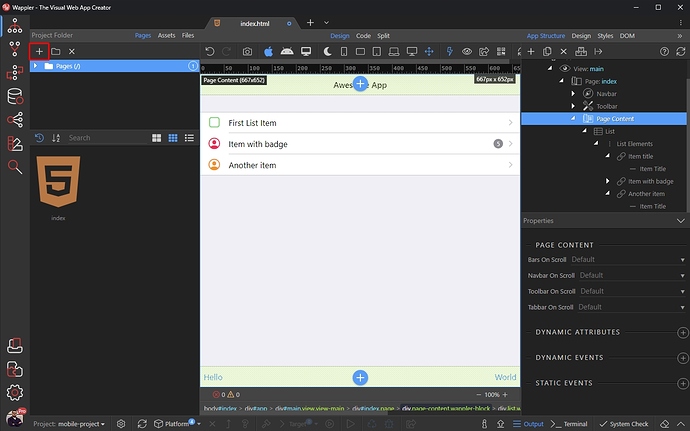
Creating a Content Page for your mobile app is easy. Open the Pages Manager:
Click Add New Page:
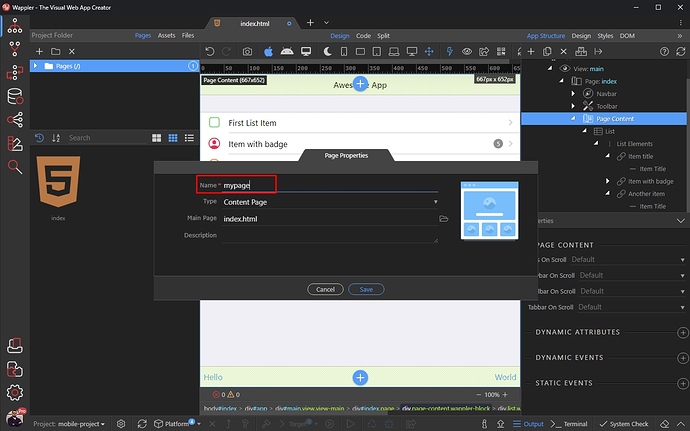
Add a name for your page and make sure the type is set to Content:
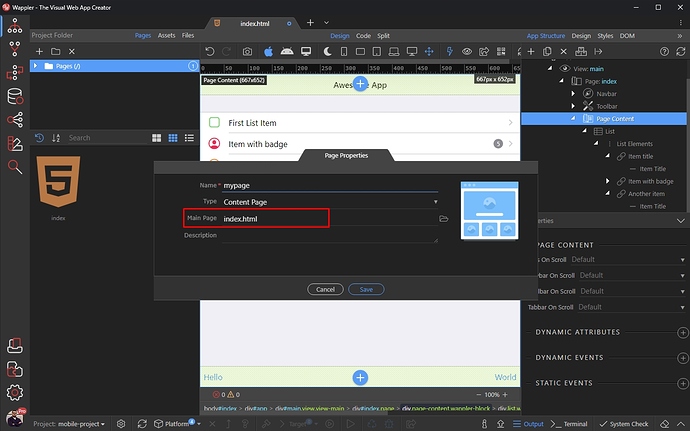
The Main Page will be automatically selected for you:
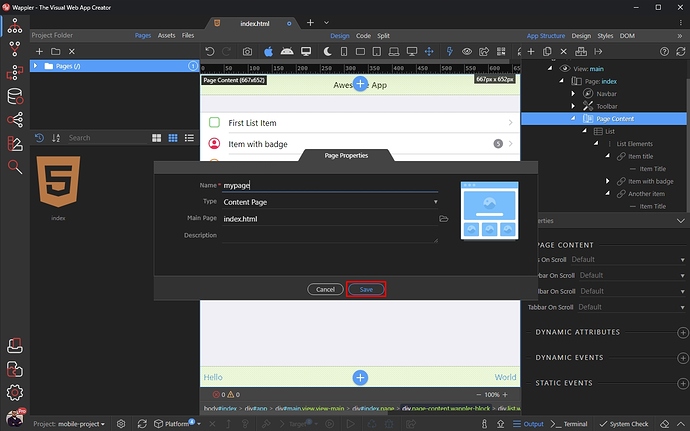
Click Save:
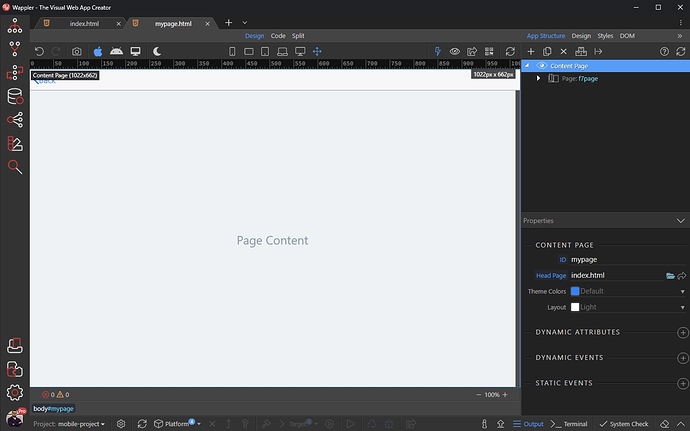
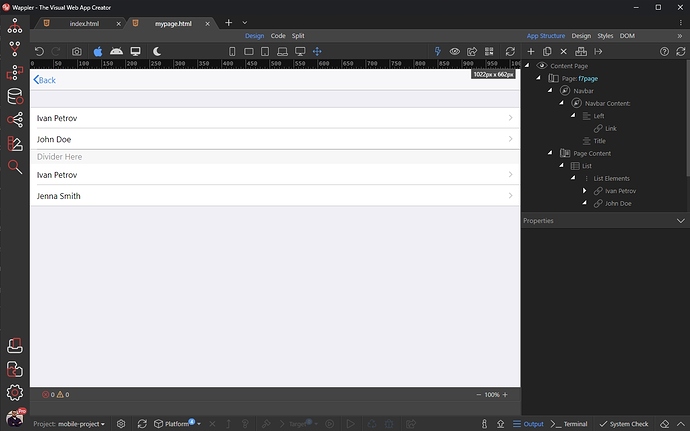
Your content page has been created and loaded in Wappler, so you can work with it in Design View:
Adding Content
Adding content on your Content Pages is as easy as on the main page.
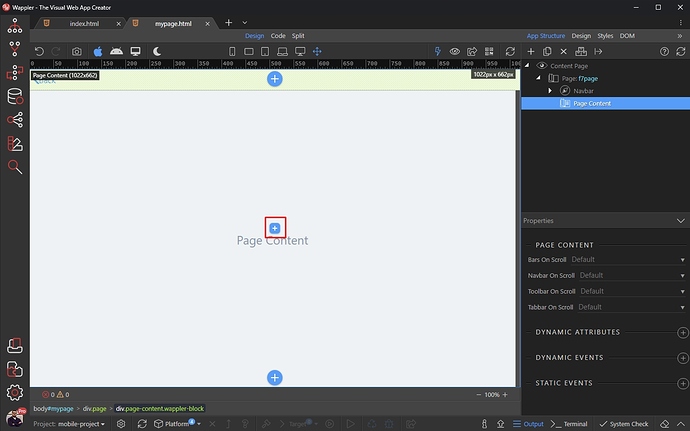
Select the Add New Element in the Content Area:
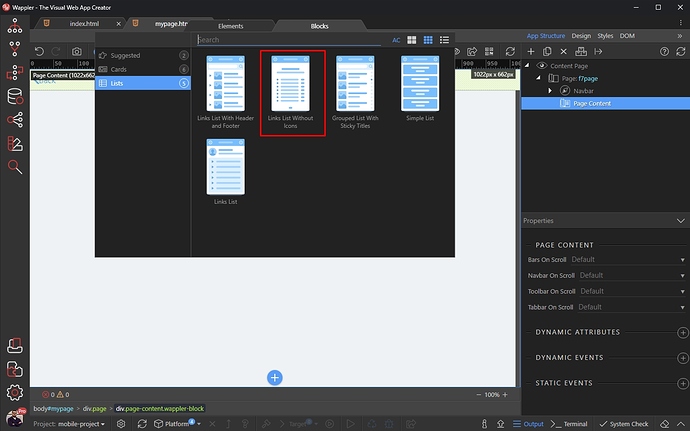
Add any element or block:
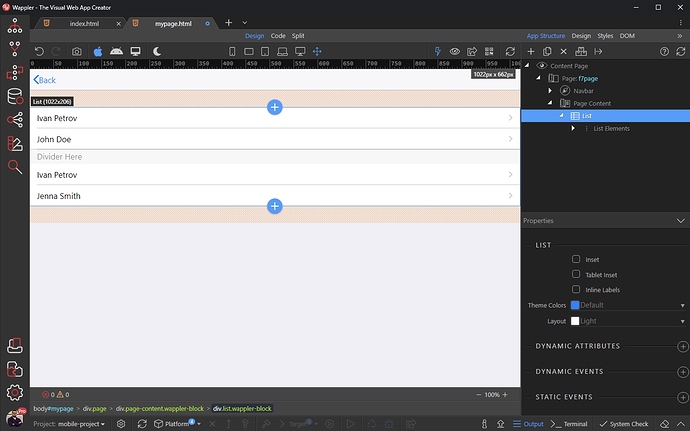
Customize the page content as you need and you are done:
Navigating to a Content Page
Once you have your content page set up you can navigate to and back from it from your other pages. For example, we want to open this content page when a link on the main page is clicked.
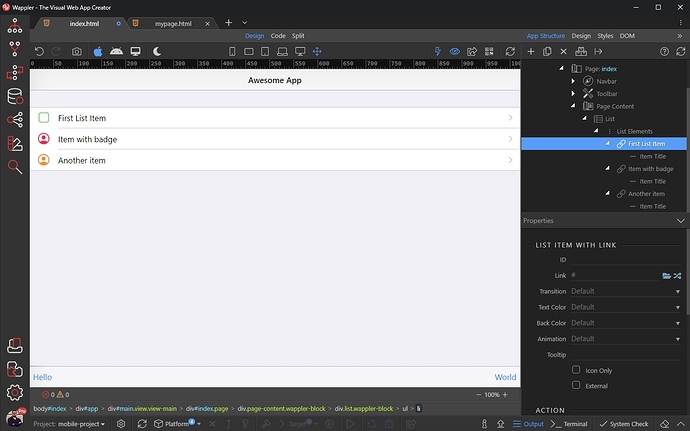
We open the main page:
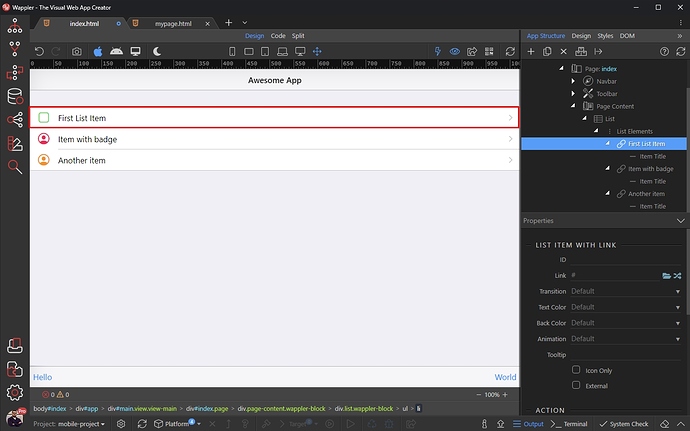
Then we click an item in the Links List:
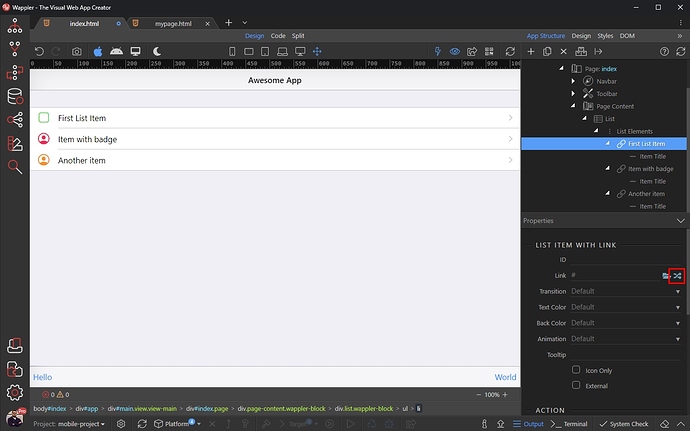
And click the routing picker icon:
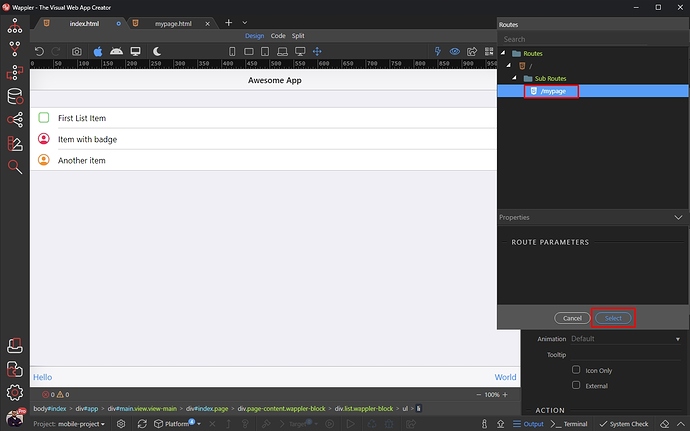
A route has been created automatically for our content page, when we created it. So we select it:
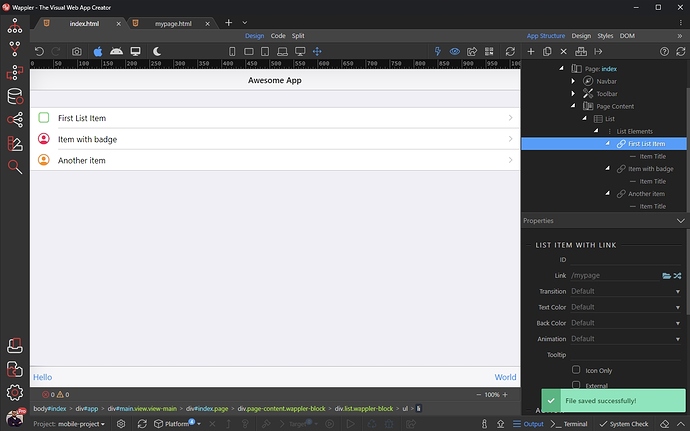
Save the main page and you are done. The content page will be loaded when this link is clicked:
Navigating back to the main page is even easier. Open the content page:
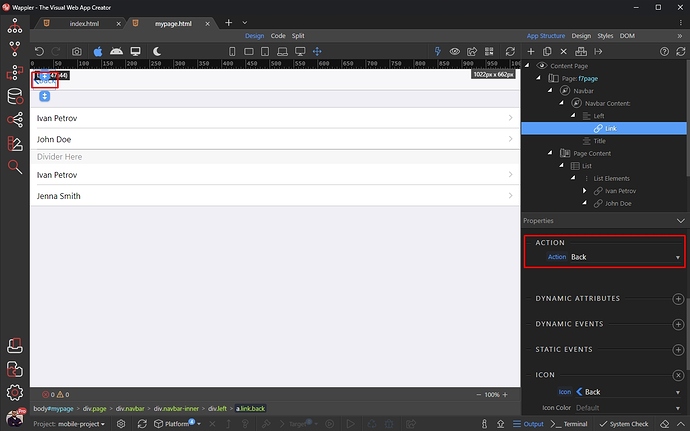
The navbar added there automatically contains a back link. By default it’s action is set to Back:
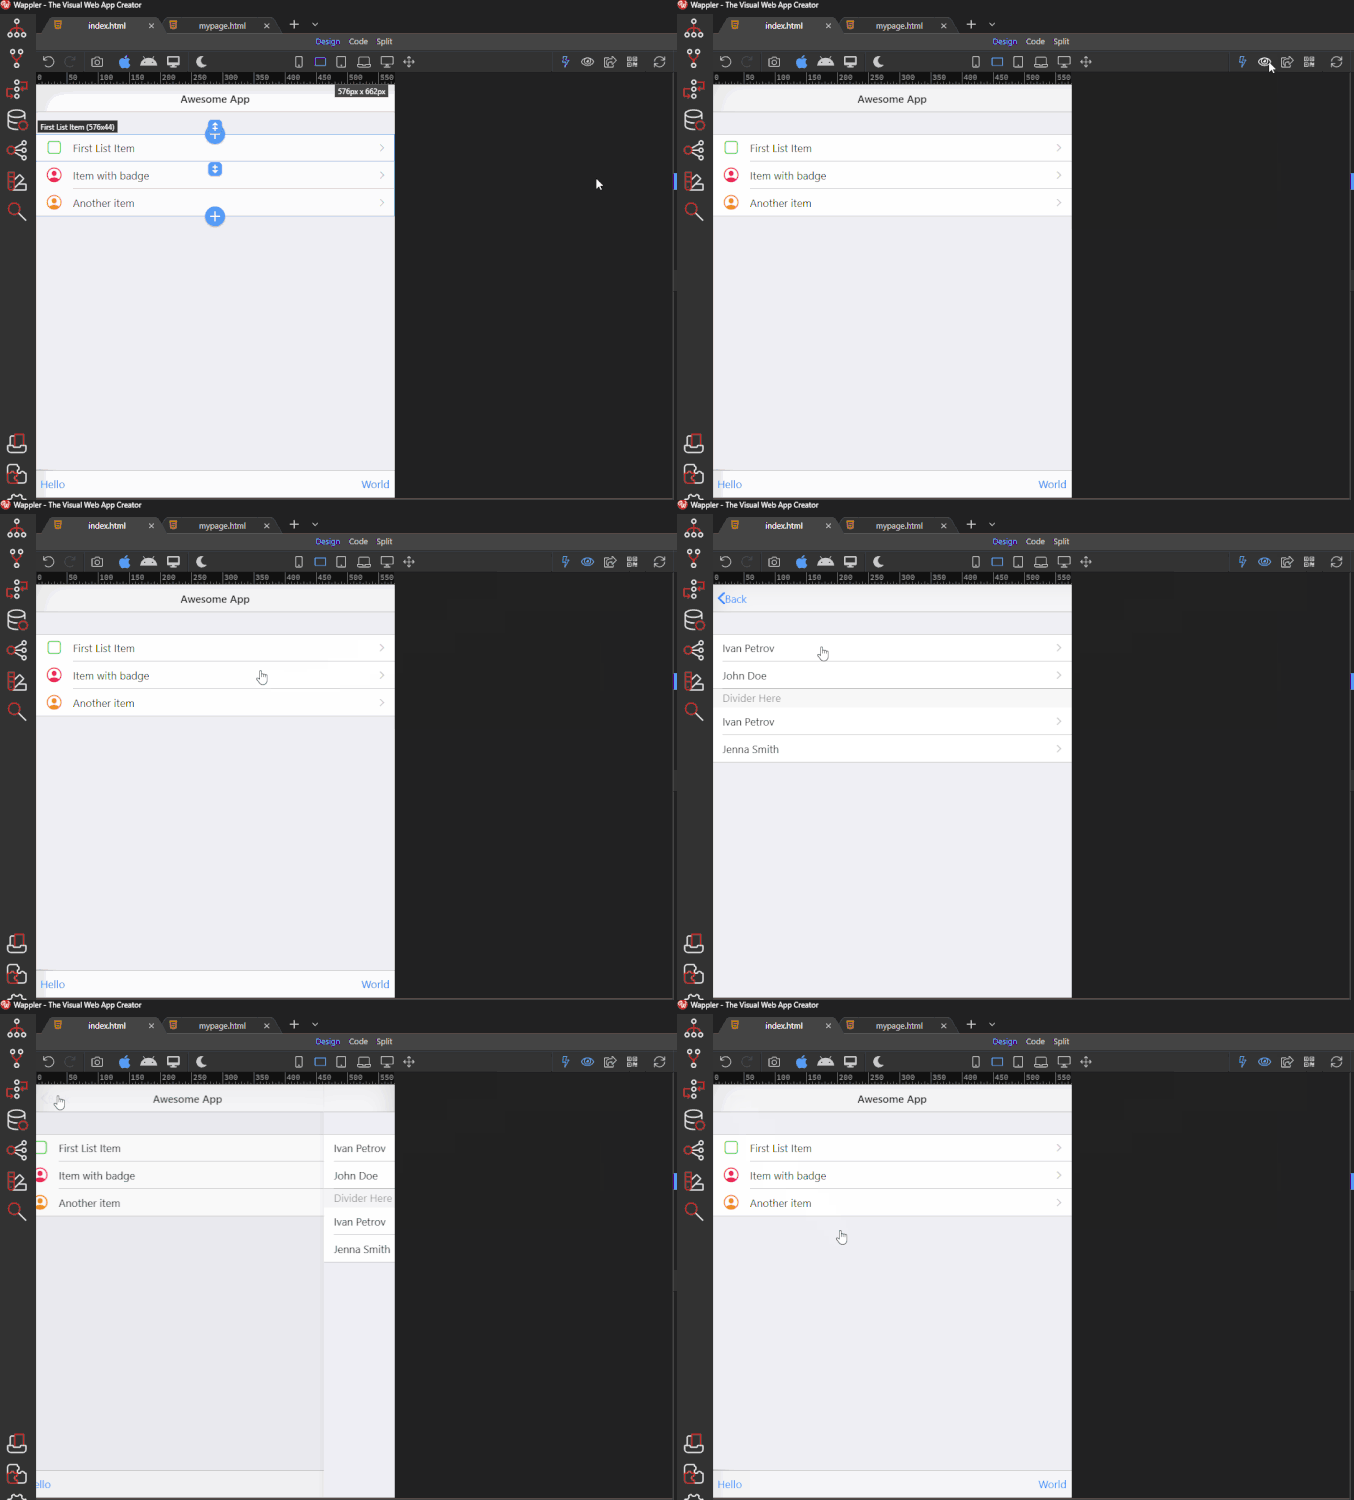
This means the page will navigate back to the main page, when the Back link is clicked. You can preview this in Wappler:
Last updated:
