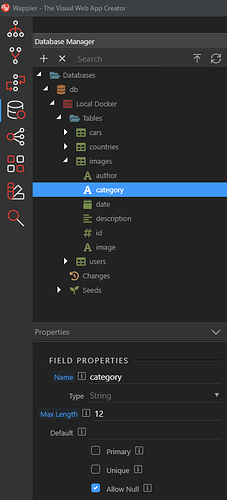
What is the Database Creator?
The Database Creator makes it easy for you to connect to any database and manage it’s structure.
You can create new database tables or edit existing ones, add, edit or remove table columns and other database schema operations.
Easy Visual Overview of you Database
In The Database Creator you have a great visual overview of all your database tables, history of your changes and database seeds.
Powerful Schema Editor
Till now you had to do this only with external tools like PHP MySQL Admin, Navicat or MySQL Workbech, but now we have it all integrated in Wappler with much more simplicity and powers than the other tools offer.
Full Version Control
With Database Creator you can do much more than just table structure edits - you have a full control of applied changes and can revert them as needed or reapply them to your live database server so everything is in sync.
Based on Proven Technology
Internally we use KnexJS for the Database Connectivity and transaction control. Next to included native drivers for MySQL, Postgres and SQLite.
Also the Database Connector fully integrates with Docker and Server Connect. So your existing database connections will be recognized instantly and enable you to work straight with your existing database
How does it work
For this preview you can work with your existing database connections from Docker or Server Connect. When you open the Database Creator panel those will be instantly visible
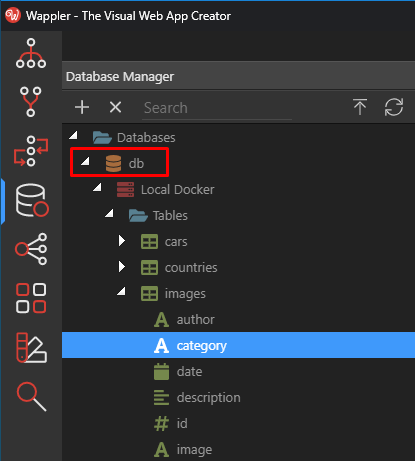
Everything is related to the Active target, so make sure you have selected the right target to work on.
Connect to a Database
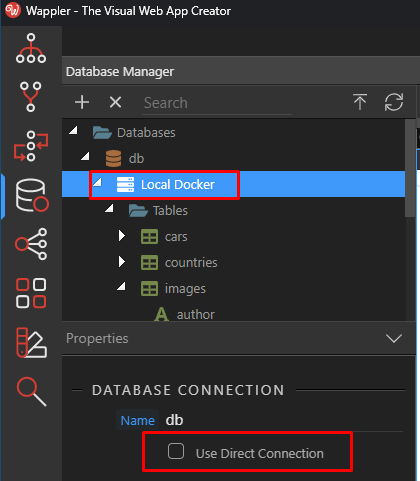
Also Database Creator connects directly to your database, so for remote targets you will need to allow direct connections.
For your local development it is much easier as the connection info will be picker up automatically it is local, so you don’t need to enable special direct connections, but for remote targets you will need to enable direct connection:
Managing Your Database Tables
For the most actions of the Database Creator you will be using the context menu.
It is context aware and it shows different options, based on the node that you have clicked on:
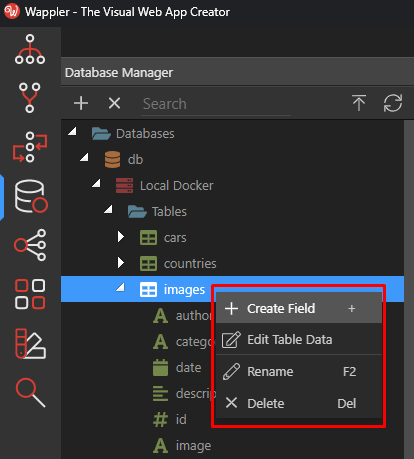
You can easily create new Database Table by right clicking on the “Tables” node:
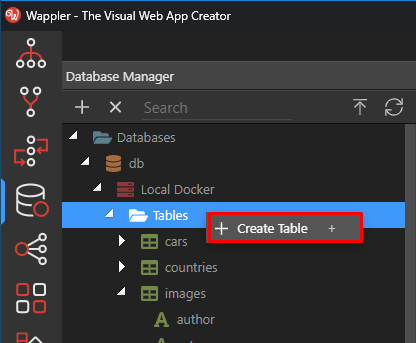
Or use the shortcut key [+]
Then just enter the new table name and enter when complete:
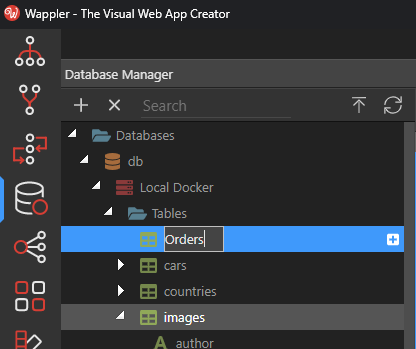
You will see immediately a visual indicator that a new item is created:

Let’s create some fields in it, again with the context menu or key [ + ]
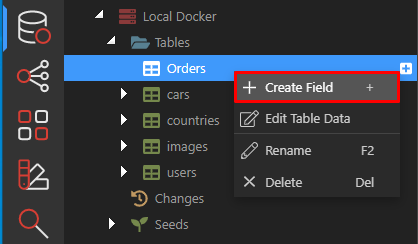
Again you fill in the field name and press enter when done:
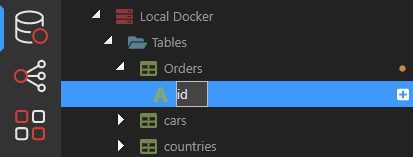
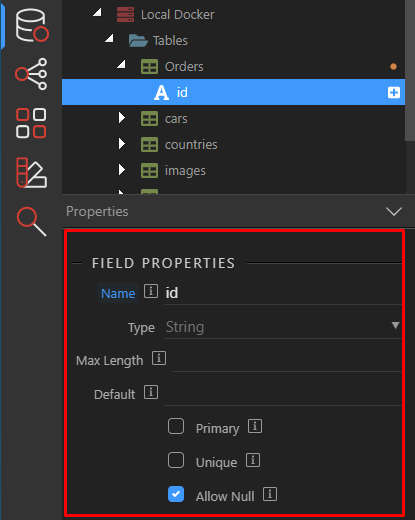
When a field is selected you will see it’s properties in the property inspector:
You can go there and choose the right type of the field you want:
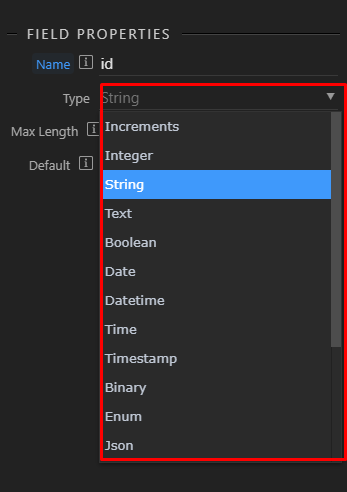
As you can see we support many field types and those are made more generic and cross database compatible. The details of the various field types you can find on Knex Database Field Types
Those field types are translated automatically to the most closely native database types.
There are also some special types like “Increments” that are really handy shortcuts for all those auto incremental primary keys and are very handy to use.
Let’s make our new field of type “Increments” as it will be our primary unique key.
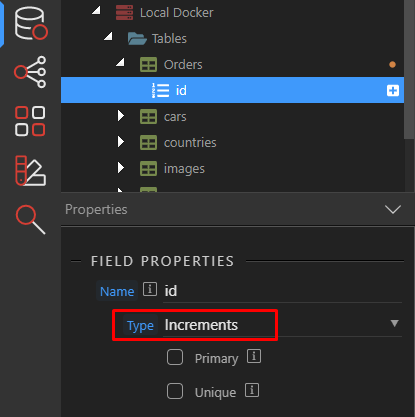
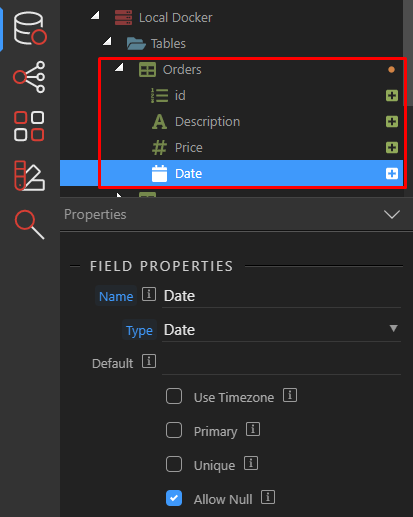
Then add some more fields
Note as the icons on the right side, indicates those are changes you haven’t apply that yet to your database.
It is important to understand the workflow here. You are first collecting your changes and then apply them as one single action. This will keep your changed organized and offer you the chance to reapply them to your live database later on.
Also keeping changes well organized will allow you to easily roll them back if something goes south.
Applying your changes
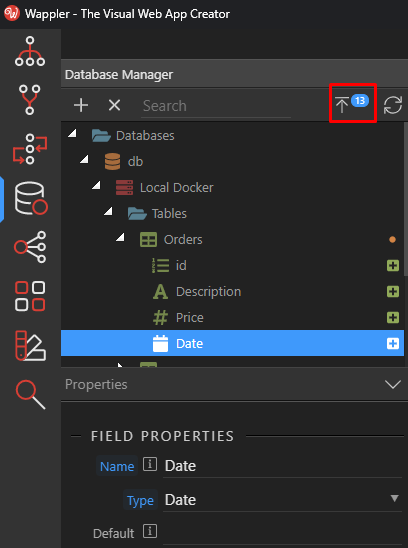
When you are done with your changes it is time to apply them. You will see an indicator of the number of changes that you have made till now.
You can click on it to save and apply those changes, a popup appears first that allows you to give your changes a nice description:
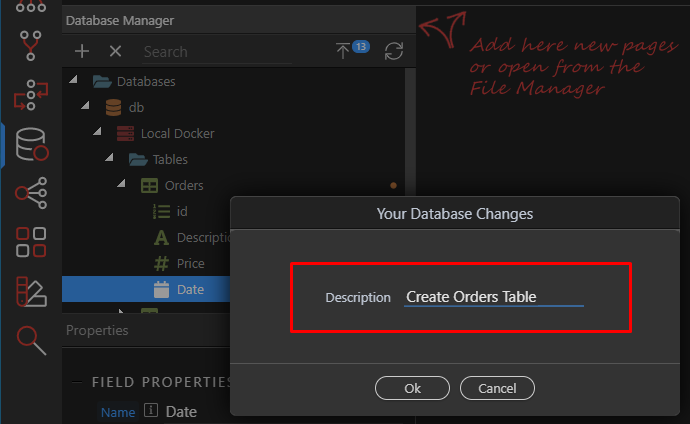
So enter something meaningful about the changes that you made. It will be listed further in your change history and be used for live apply or rollback, so make sure it is a good description.
When you clock on OK the changes will be saved, applied

The database structure refreshed and you will see your new table. Also the changes count will be reset:
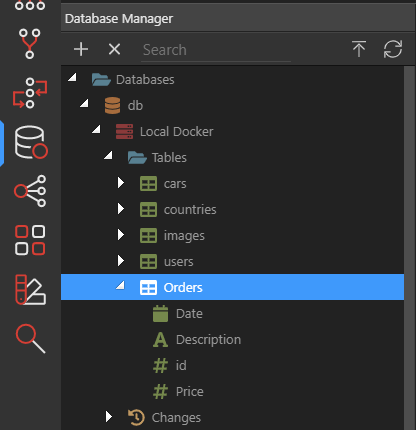
If you explore further, you will see your changes now visible under the “Changes” branch.
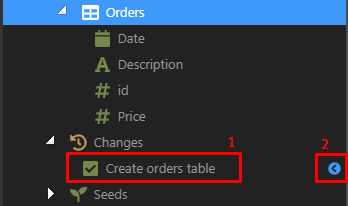
There you will see your specific change (1) with green checked icon,which means that it is executed and the blue icon (2) meaning it is the current version.
You have various actions available that you can do with those changes later on:
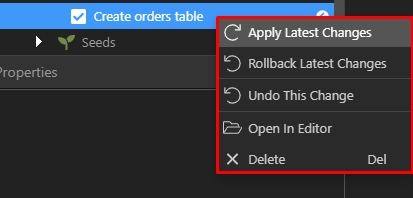
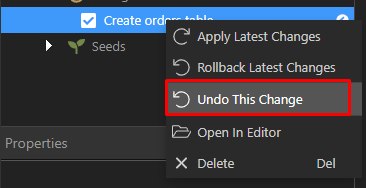
Reverting changes
You can easily revert the change, by clicking on “Undo this change” so click on it and you change will be reverted:
Then check your database structure:
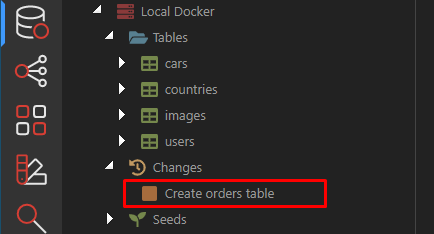
You can see that the table you just created is gone now. And the change line is now orange icon without a check - meaning that the change is not done.
you can simply reapply the change:
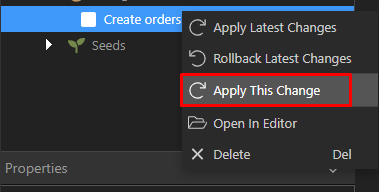
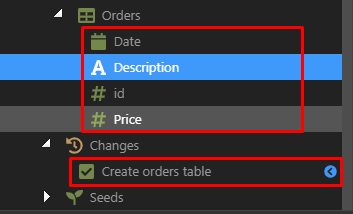
And again your database includes perfectly the change now. The new Orders table is in there and the change is again market as done:
Applying changes to production
The way changes are applied is actually the way you will be publishing to your live server!
Just switch the target to your live server and you will see that the changes aren’t applied yet there - so just apply them at once by clicking on the “Apply Latest Changes”
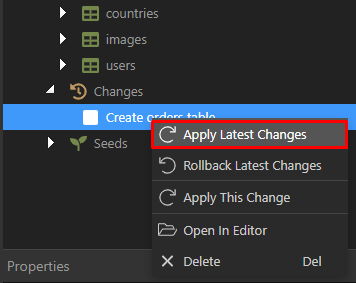
And your live server will be automatically updated!
Inspecting the Change code
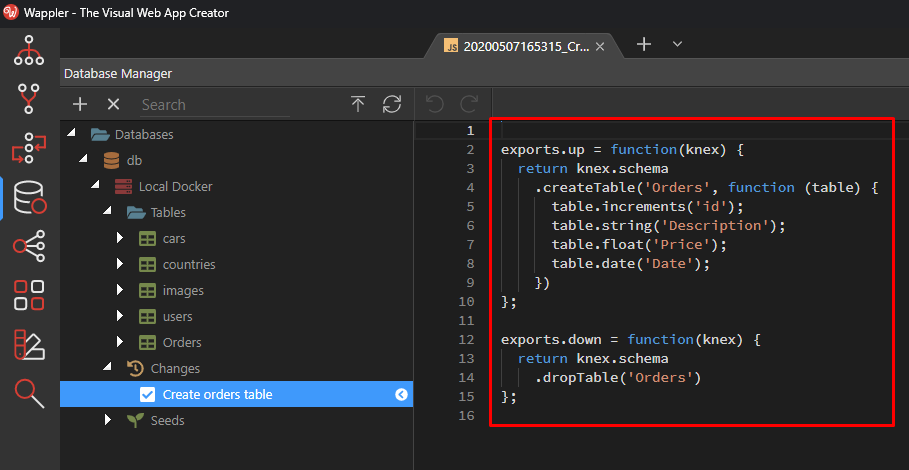
As changes are store in files, you can easily inspect their context to clearly understand what is going on, just click on “Open In Editor”
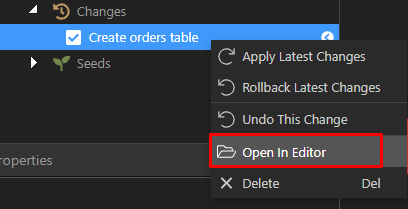
Then you will see the automatically created code for you, according to the KnexJS standard:
Working with Data
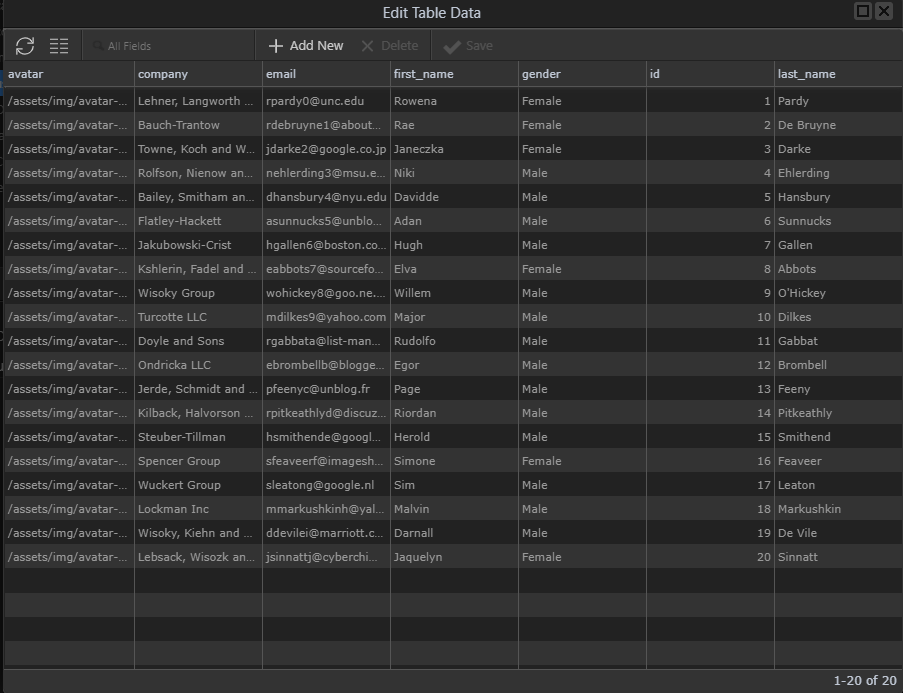
In The Database Creator, you can also directly inspect your table data! Just right click on a table and select “Edit Table Data”
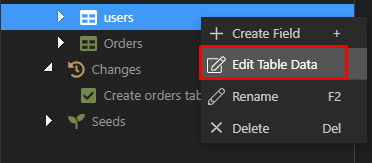
A nice popup will appear with all the table data!
Note this is currently view only - will be implementing the real editing later on.
Conclusion
I hope you got a bit taste of the new upcoming Database Creator and it’s powers! We will be finalizing it and extending with much more functionality the coming up weeks to prepare it fully for Wappler 3.0 release.
So have a good test on it and let us know what you think.
More to come
A lot more functionality will be still coming up, so don’t worry if you don’t find everything yet! We are just getting started! So soon you will see things like:
- Database Relations
- Indexes and keys
- Display Settings fields to be used by Front-End generators
- Validation
So go explore and try it out!
Last updated:
