In The latest Wappler update we have introduced Git Remote Repositories.
With remote Repositories you can now also publish your work to remotes site like GitHub, GitLab, BitBucket or Microsoft Azure DevOps
Also you can use Remote Git repositories not only for version control but also for automatic Website publishing! Many hosting control panels already support this.
For general understanding it is advisable that you first review the Introduction about Remote Repositories in Git
So let’s start!
Connecting to a Remote Repository (Clone)
Usually when you want to start working with a remote git repository, you want to copy its contents to a local repository copy. This is also called “clone”
In Wappler this is easily done, by just making a blank new Wappler project.
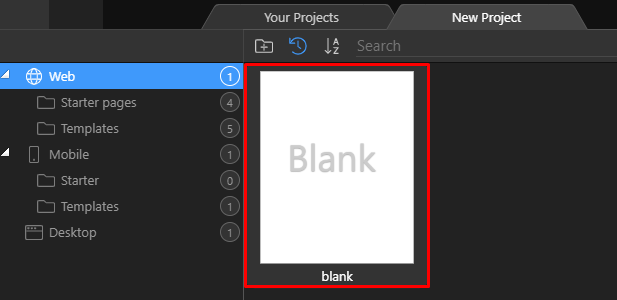
Then enter a project name (1), choose a local (empty!) folder path (2) and enter the remote repository url (3):
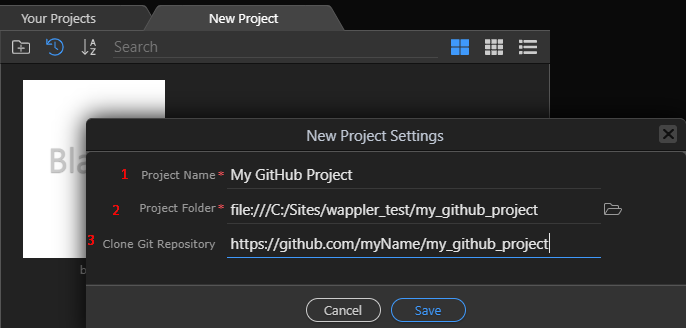
Note: You can use HTTPS urls or special SSH urls for remote repositories.
See https://help.github.com/en/articles/which-remote-url-should-i-use
Cloning a Remote Repository
Now that you have entered all the needed info, press OK and a full download and copy all the files from the remote repository will be done to you local folder.
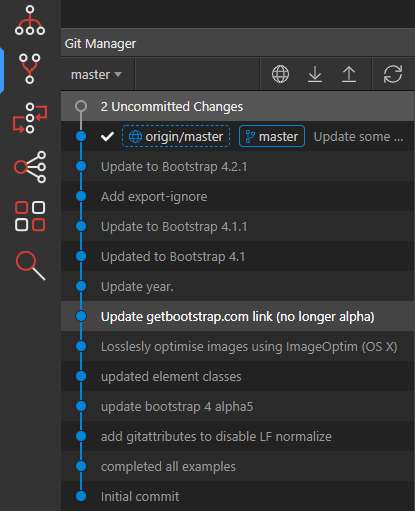
You will also directly be able to see the project history under the Wappler’s Git manager:
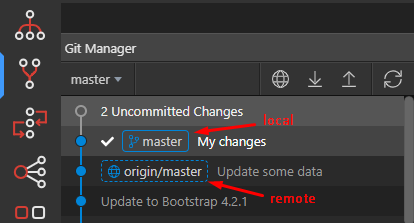
You will see with the “origin/master” dotted line that this local master repository is connected to a remote.
Authentication to the Remote Repositories
If your repository was public you can clone it (copy) it without any authentication. However for private repositories and also for saving back files to a remote repository, you will need credentials.
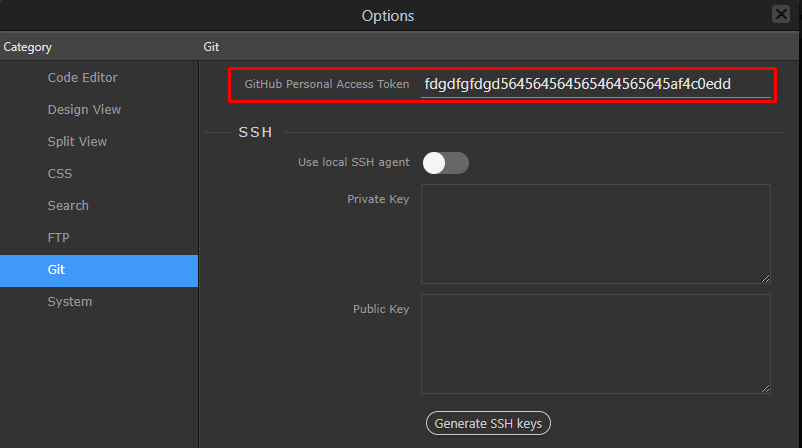
GitHub Personal Access Token
When connecting to github, the easiest way is to generate a Personal Access Token that can be set in the Wappler options
SSH Keys
Another way to publish your work to GitHub but also all other major git providers like BitBucket, GitLab and many others is by using the so called SSH Keys.
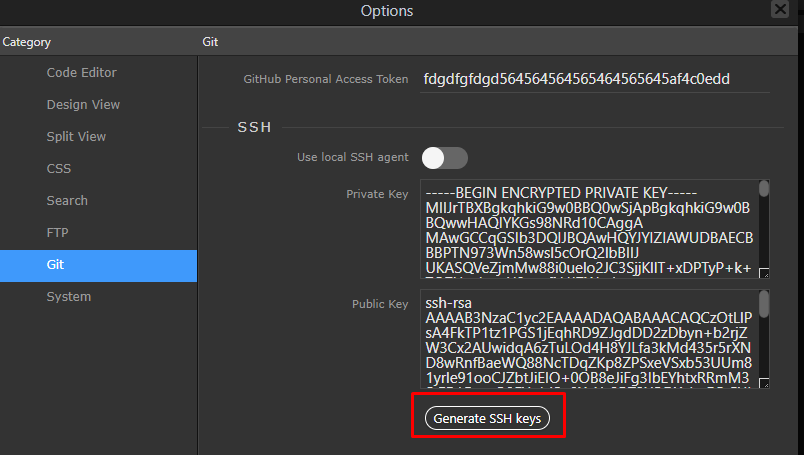
Wappler can even generate those keys for you so you only need to copy and past them in your profile at the git provider site. As explained on Github deploy keys
In Wappler options, just press “Generate SSH Keys” button, copy the public key and save the options:
Then paste the public key in your github account settings as SSH key.
From now on you will be able to publish to github with that security SSH key.
Same is also valid for other git providers.
Publishing Your Work
Once you have connected to your remote repositories, you can make changes to your files in Wappler, commit them locally and then “push” those changes to the remote repository.
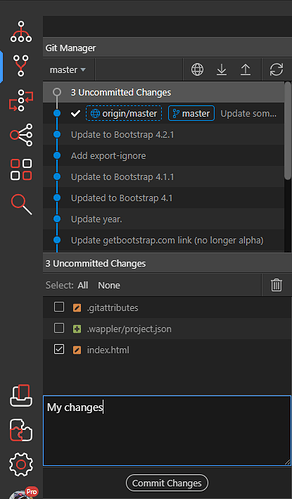
Commit your changes locally
First you need to commit your changes to your local repository:
Now you see that your local copy is further then the remote:
Push local changes to the remote
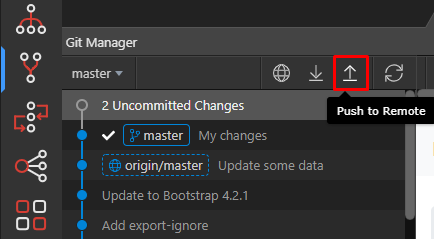
Now that we have committed our local changes, it is time to push them to the remote.
You can easily do that by pressing the “push” icon:
Getting changes from the Remote Repository
If your remote repository has being used by many people, it might contain changes you don’t have yet.
To get the latest changes, just select “pull”

Managing Remotes
When you need to see your remote repository or later on, add remote repositories the existing project, you can use the “Manage Remotes” button:

There you can add or delete as many remote repositories as you wish:

Conclusion
So this is how easy it is to work with remote repositories.
Let us know how you like it and if you have any comments and improvements.
Last updated:
