This is pretty easy using a simple custom extension.
The PayPal IPN call is a fairly simple feature to install as the call itself does all the hard work. The listened needs no input and has no specific outputs; the call simple causes POST variables to be populated.
First we add a PayPal IPN npm module by going to Terminal and typing
npm install paypal-ipn
If using docker do a local deploy to ensure the extension is in the docker container
Now we create the .js in a file in the /extensions/server_connect/modules folder
I called this ipn.js
const ipn = require('paypal-ipn');
module.exports = {
ipn: function (params) {
ipn.verify(params, function callback(err, msg) {
if (err) {
console.error(err);
} else {
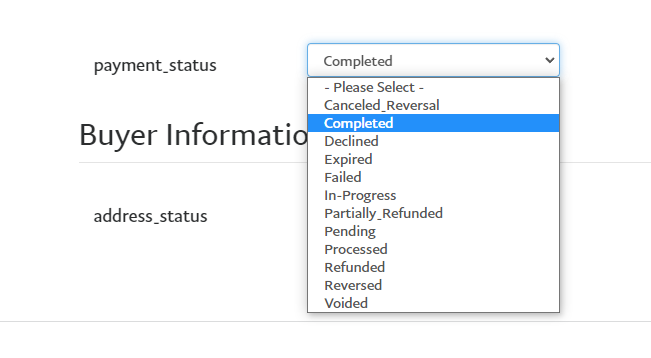
if (params.payment_status == 'Completed') {
return true
}
else {
return false
}
}
});
}
}
and we add the hjson to manage the extension within Workflows, i call ipn.hjson
 {
    type: 'ipn',
    module : 'ipn'
       action : 'ipn',
    groupTitle : 'PayPal Extensions',
   groupIcon : 'fas fa-lg fa-table comp-data',
    title : 'IPN Handler',
    icon : 'fas fa-lg fa-table comp-data ',
    dataPickObject: true,
  }
Now create an API action, i will call it “ipn” and add the module

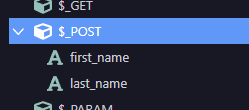
The module will cause POST variables to be populated so we must create them.
The IPN documentation details the data which can be captured.
For simplicity, i simply capture the first and last names
I create a table with corresponding fields
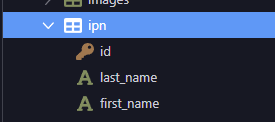
Add a simple database insert

Thats it, now for testing
The PayPal IPN simulator cannot talk to localhost so we activate ngrok proxy

The url for the API action can be found simply by viewing it in your browser

In this case the URL will look something like this :
https://6dff-2a00-23c6-9f08-5d01-acc1-5f6d-89b9-6a7.eu.ngrok.io/api/ipn
i go to the PayPal IPN simulator page
https://developer.paypal.com/developer/ipnSimulator
and enter the URL
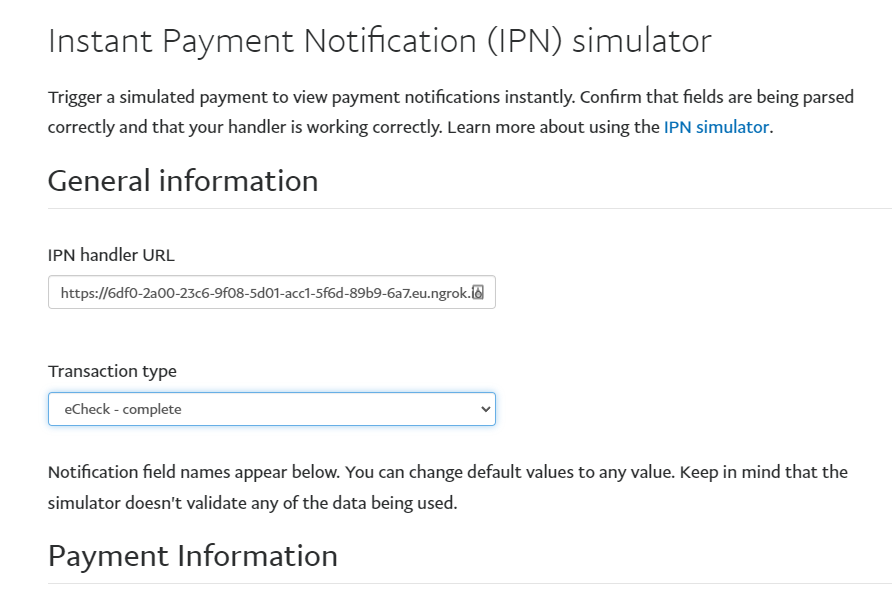
and press the “Send IPN” button

The IPN action shoudl be verified

Checking your database table should show the data added

This simple tutorial does not deal with validation. Don’t forget the IPN call returns the payment status returned by the IPN for appropriate processing and this should be checked appropriately
There are a few tweaks i will make when i get time regarding further validation of the IPN receipt which I will post when complete
Last updated: